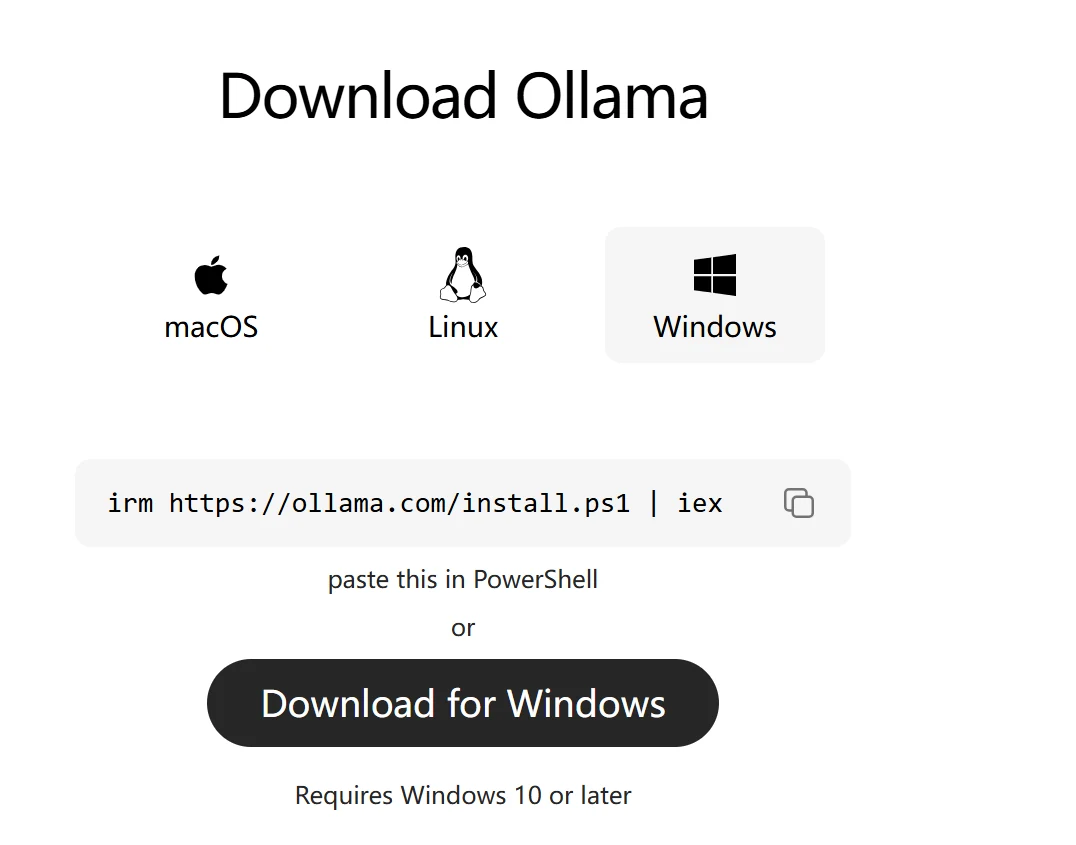
Models can be deployed locally or in the cloud. Local devices include laptops, desktops, and other edge devices, etc.
There are also different tool choices for local running: Ollama, as well as frameworks like vLLM and SGLang.
In this chapter, we'll first explain the basic usage of Ollama clearly. Adaptation for other edge devices and the use of frameworks like vLLM and SGLang will be covered later.
Calling large models through an API is the most hassle-free approach: send the request, the model calculates and returns the result. Users don't need to purchase GPUs or maintain the underlying environment.
But the API approach also has unavoidable limitations, mainly in the following aspects:
So, if your business involves data sensitivity, requires purely offline operation, or has large call volumes, local deployment is the more appropriate choice.
Ollama is one of the currently more user-friendly tools, packaging model downloading, local management, and API services all together. Users don't need to write code to load models; just a few commands can start the model directly.
Whether a model can run smoothly locally largely depends on the computer's hardware resources. Ollama provides good support for common hardware platforms, supporting Windows, Linux, and macOS. Whether it's a regular CPU, GPU, or a Mac with Apple Silicon, they can all be used to run models.
CPU running, even without a dedicated graphics card, you can run models through CPU. Since large model inference requires extensive computation, generation speed is usually slower with CPU, making it more suitable for smaller parameter models or scenarios where response speed requirements are not high.
GPU running, this is currently the more common way to run large models. GPU has strong parallel computing capabilities that can significantly improve model generation speed. The larger the model, the more video memory is usually needed, so when choosing a model, you need to consider whether the graphics card has enough video memory.
Apple Silicon running, Apple's M-series chips use unified memory design, where CPU and GPU can use the same memory. For Mac users, if the device has 32GB, 64GB or larger unified memory, you can try running some larger parameter quantized models.
Sign in to join the discussion
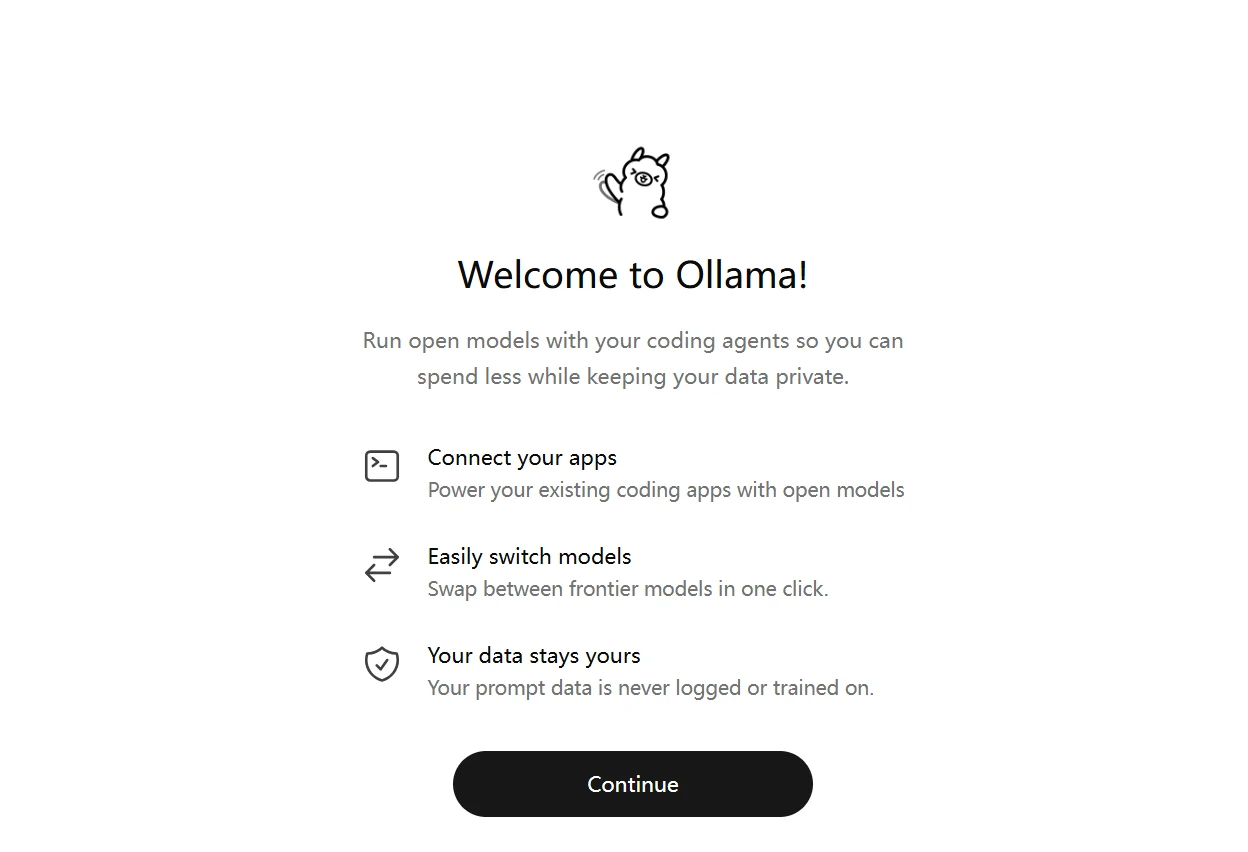
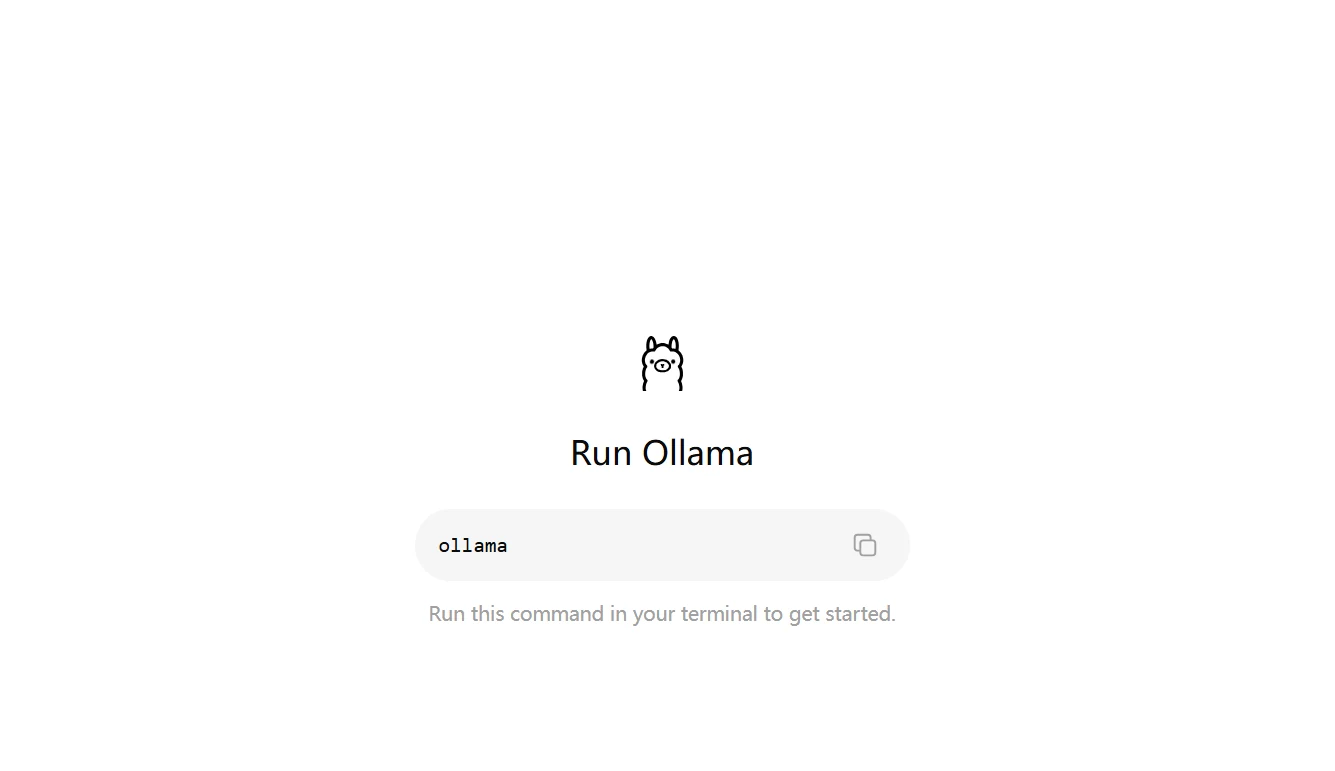
ollama run qwen3.5:2b
The page output shows that the model has started successfully. At this point you can have conversations directly in the client or call the API to test the model.
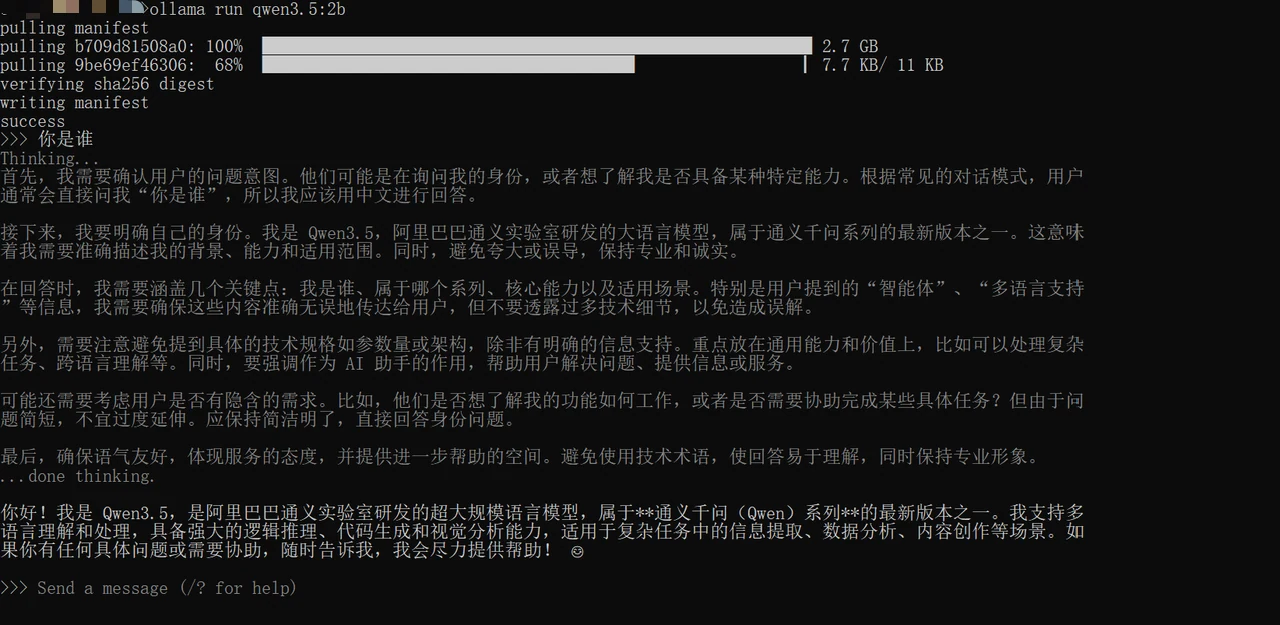
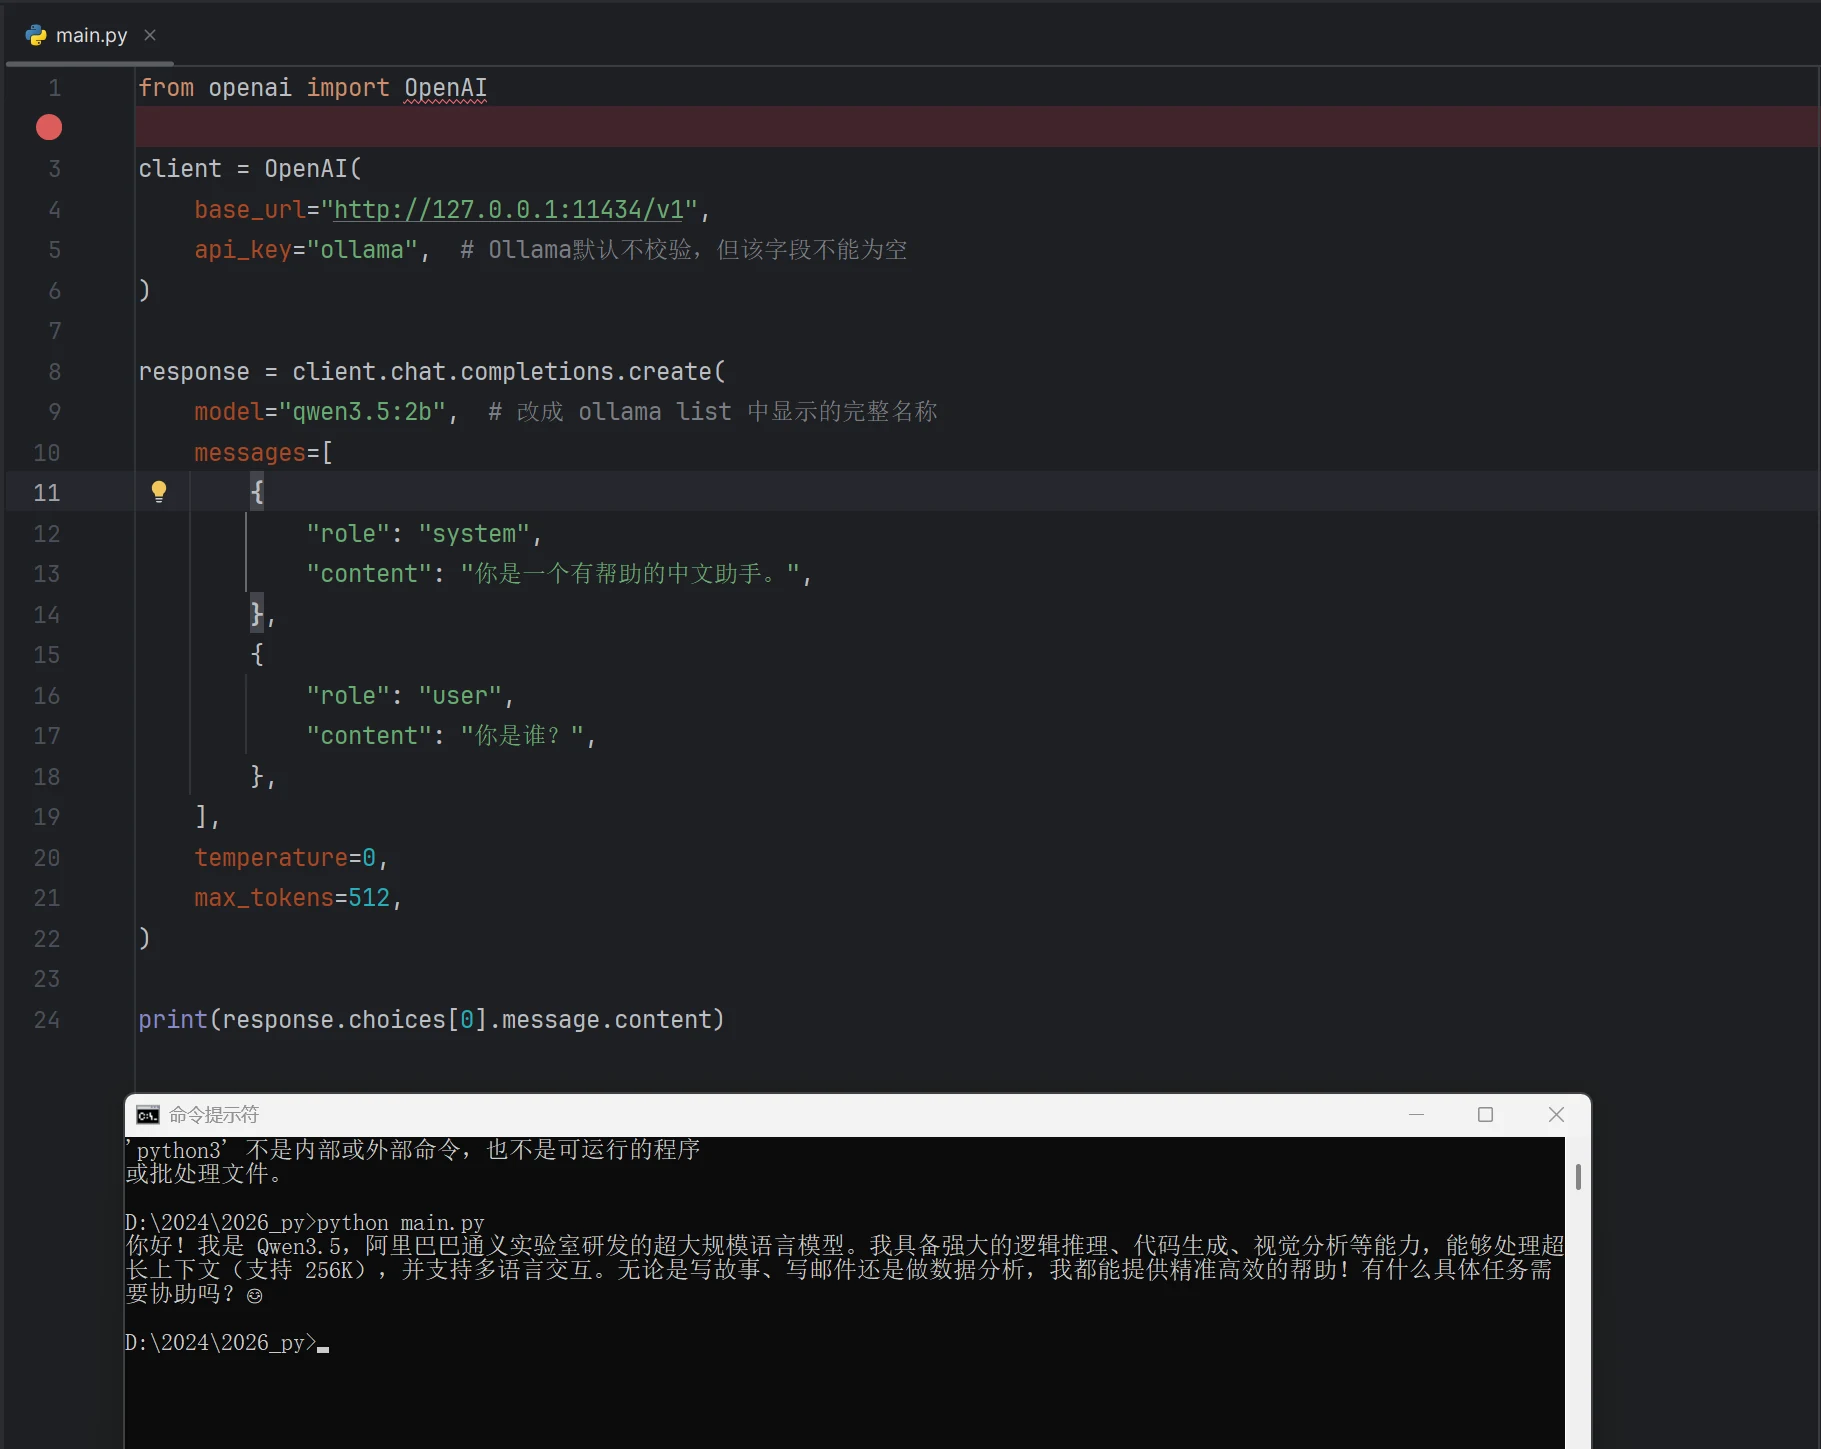
Test API code:
from openai import OpenAI

client = OpenAI(
    base_url="http://127.0.0.1:11434/v1",
    api_key="ollama",
)

response = client.chat.completions.create(
    model="qwen3.5:2b",
    messages=[
        {
            "role": "system",
            "content": "You are a helpful assistant.",
        },
        {
            "role": "user",
            "content": "Who are you?",
        },
    ],
    temperature=0,
    max_tokens=512,
)

print(response.choices[0].message.content)
Result:
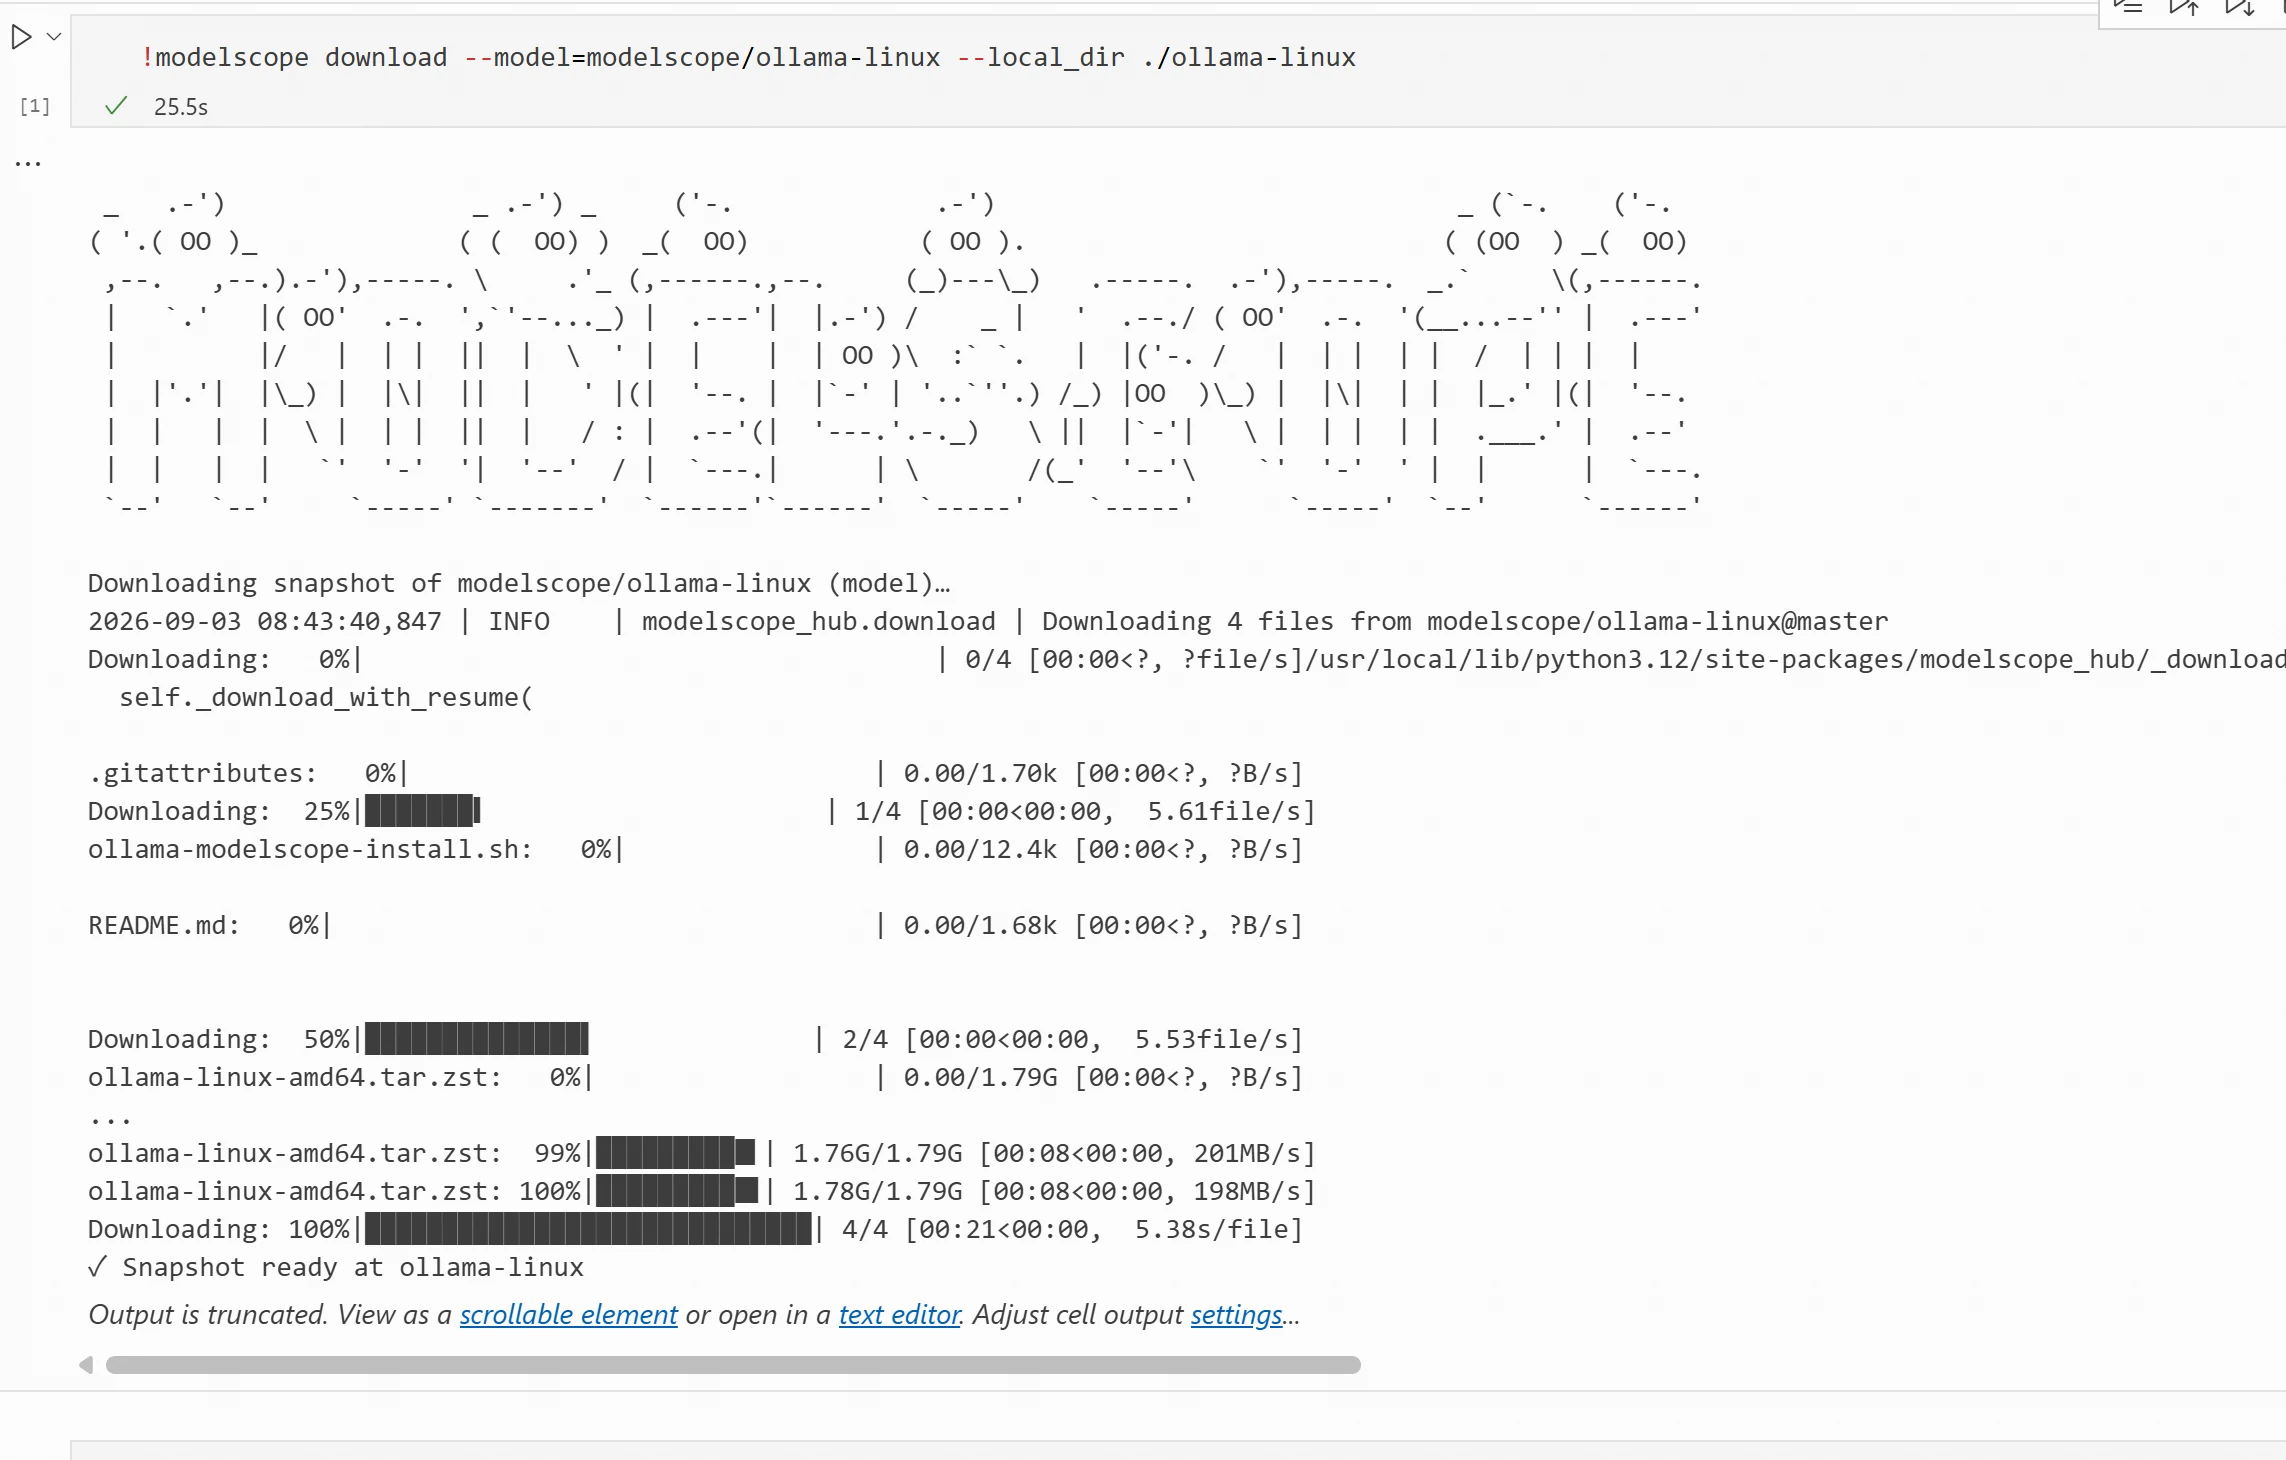
!modelscope download --model=modelscope/ollama-linux --local_dir ./ollama-linux
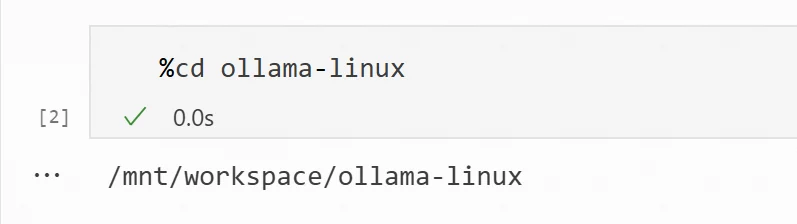
ollama-linux folder and execute the following command to install%cd ollama-linux
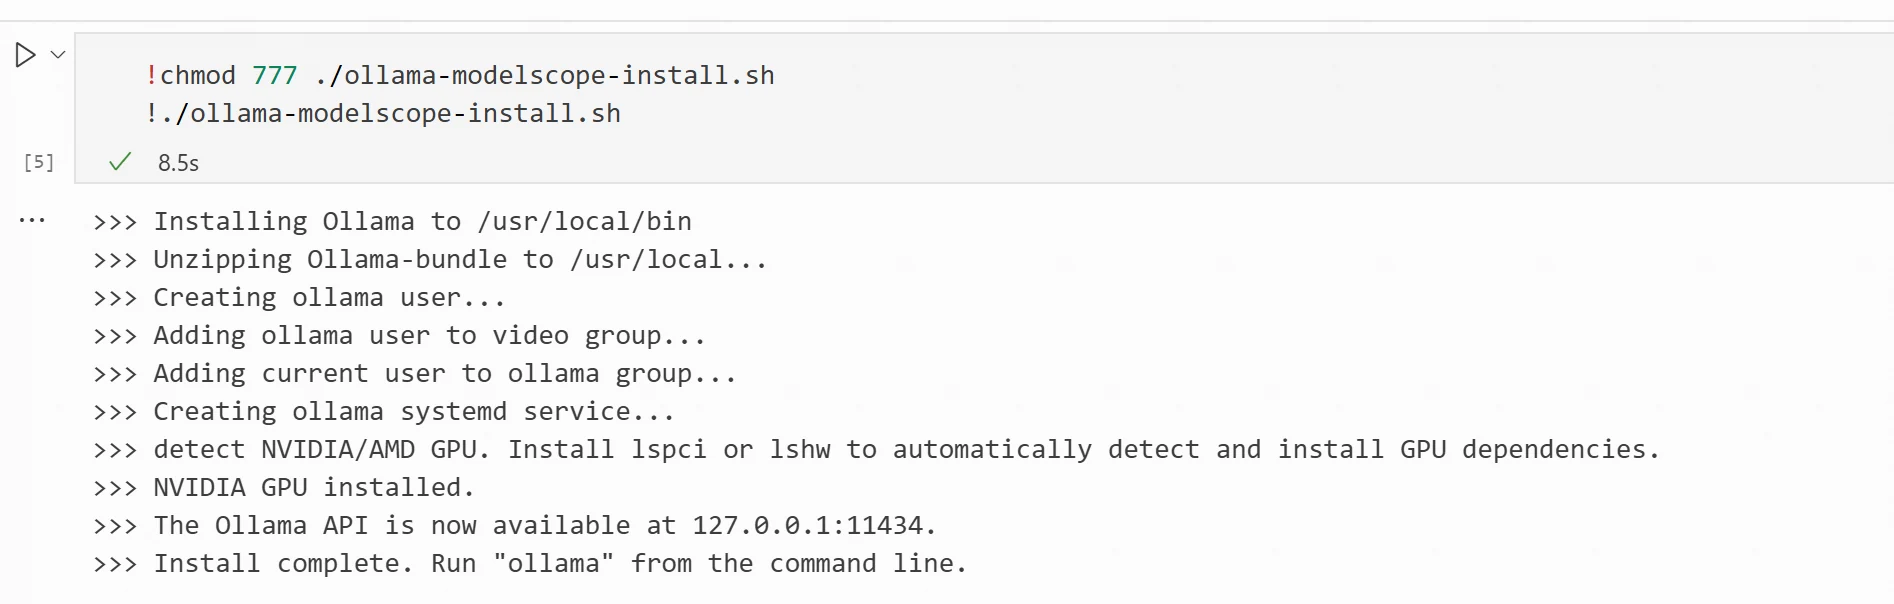
sudo chmod 777 ./ollama-modelscope-install.sh
./ollama-modelscope-install.sh
After installation is complete, it will show API endpoint information, default 127.0.0.1:11434. If the following information is shown, the installation is complete.
The installation steps on Linux are the same as installing Ollama in ModelScope Notebook above.
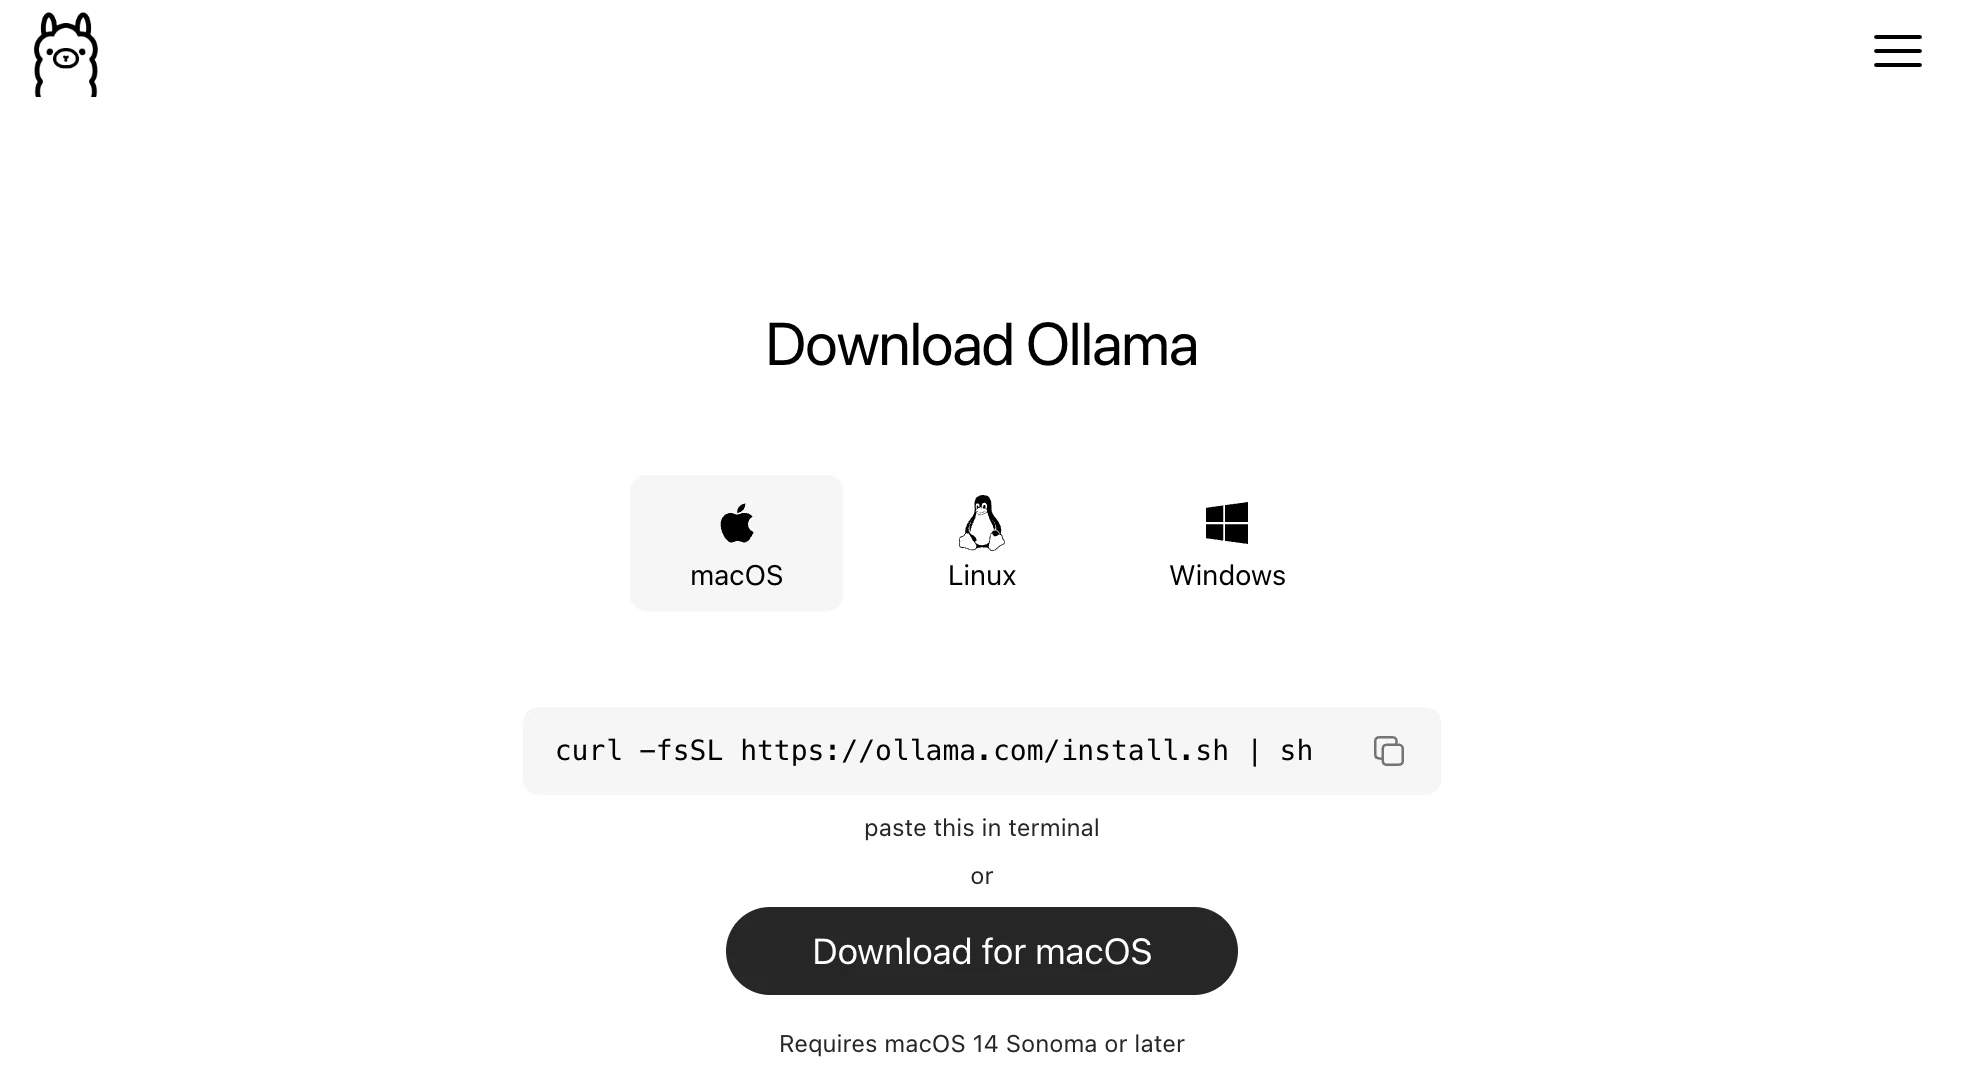
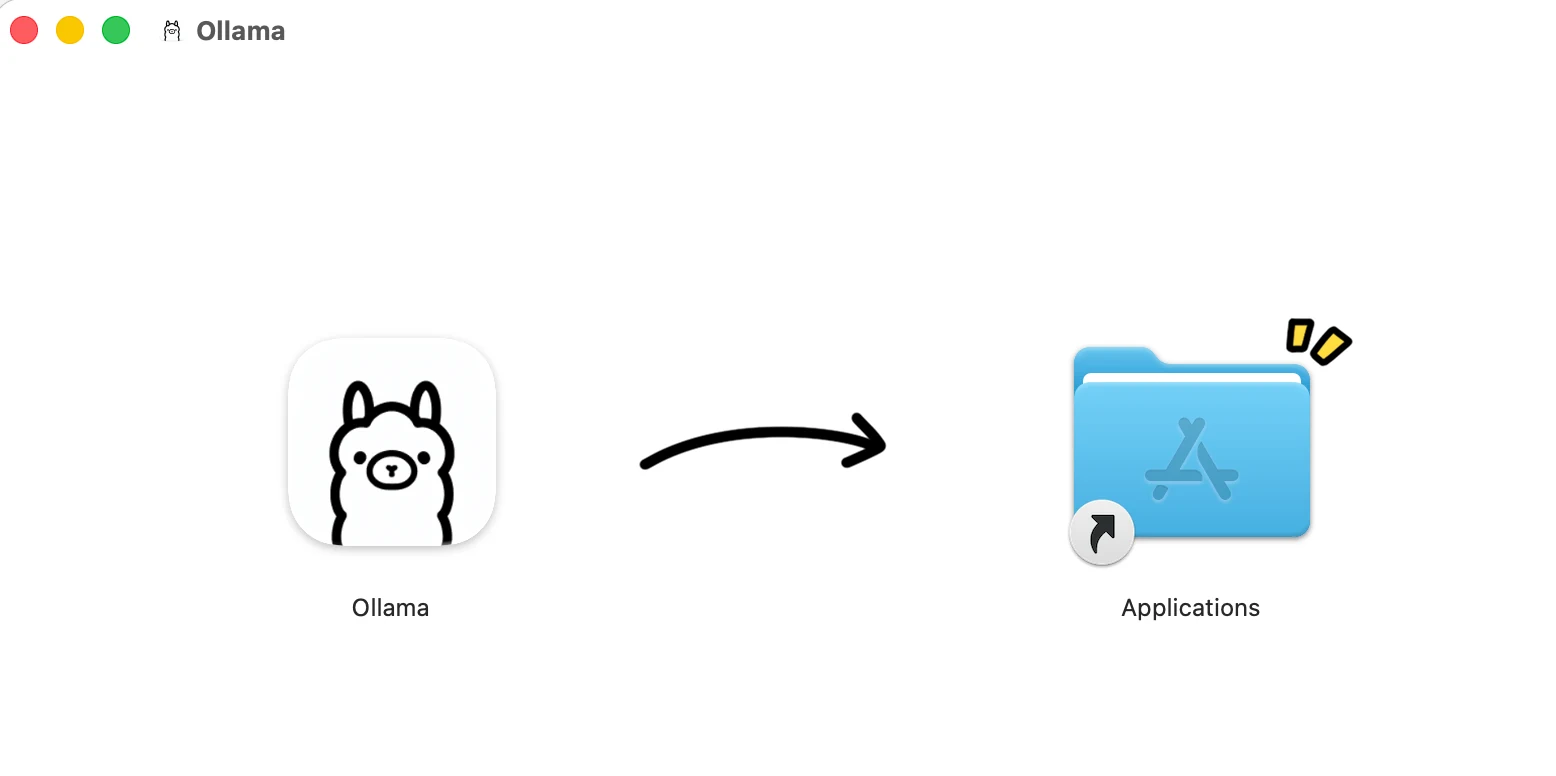
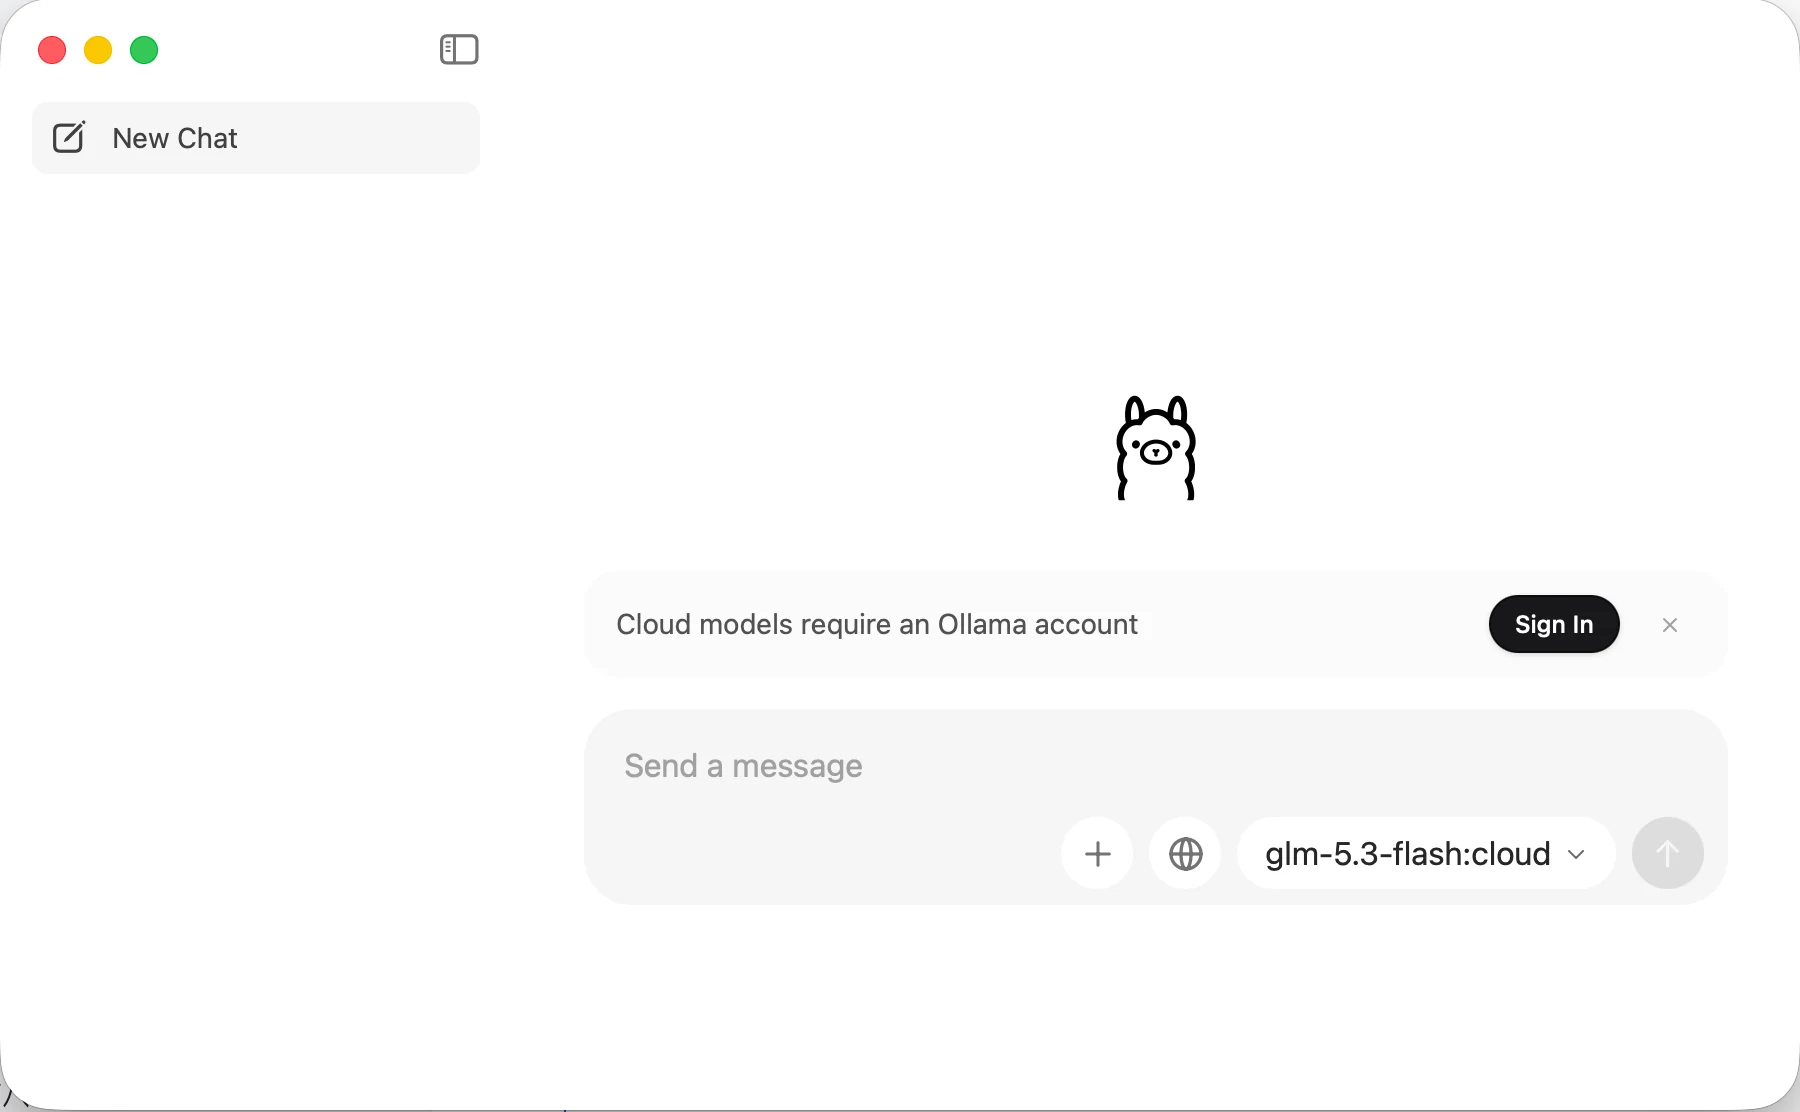
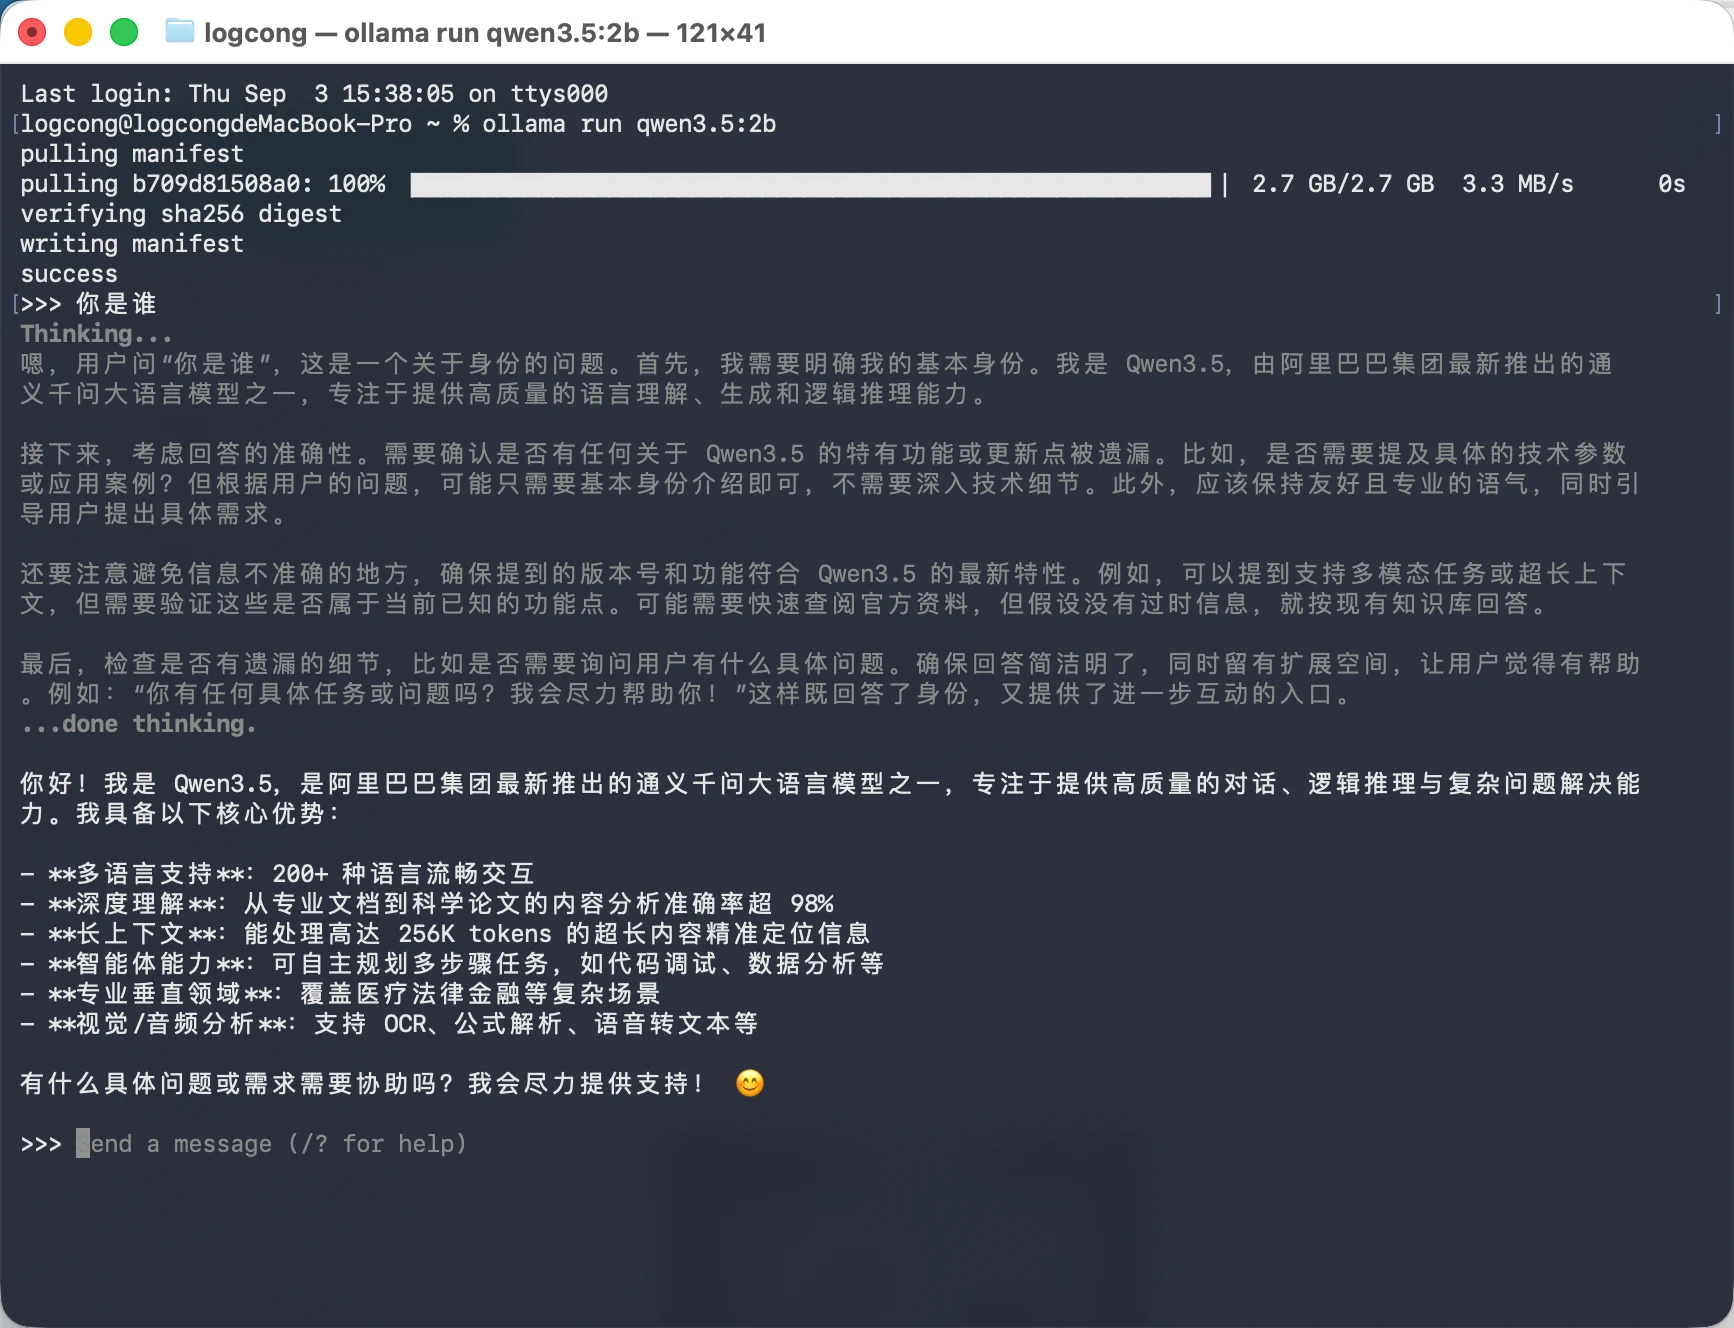
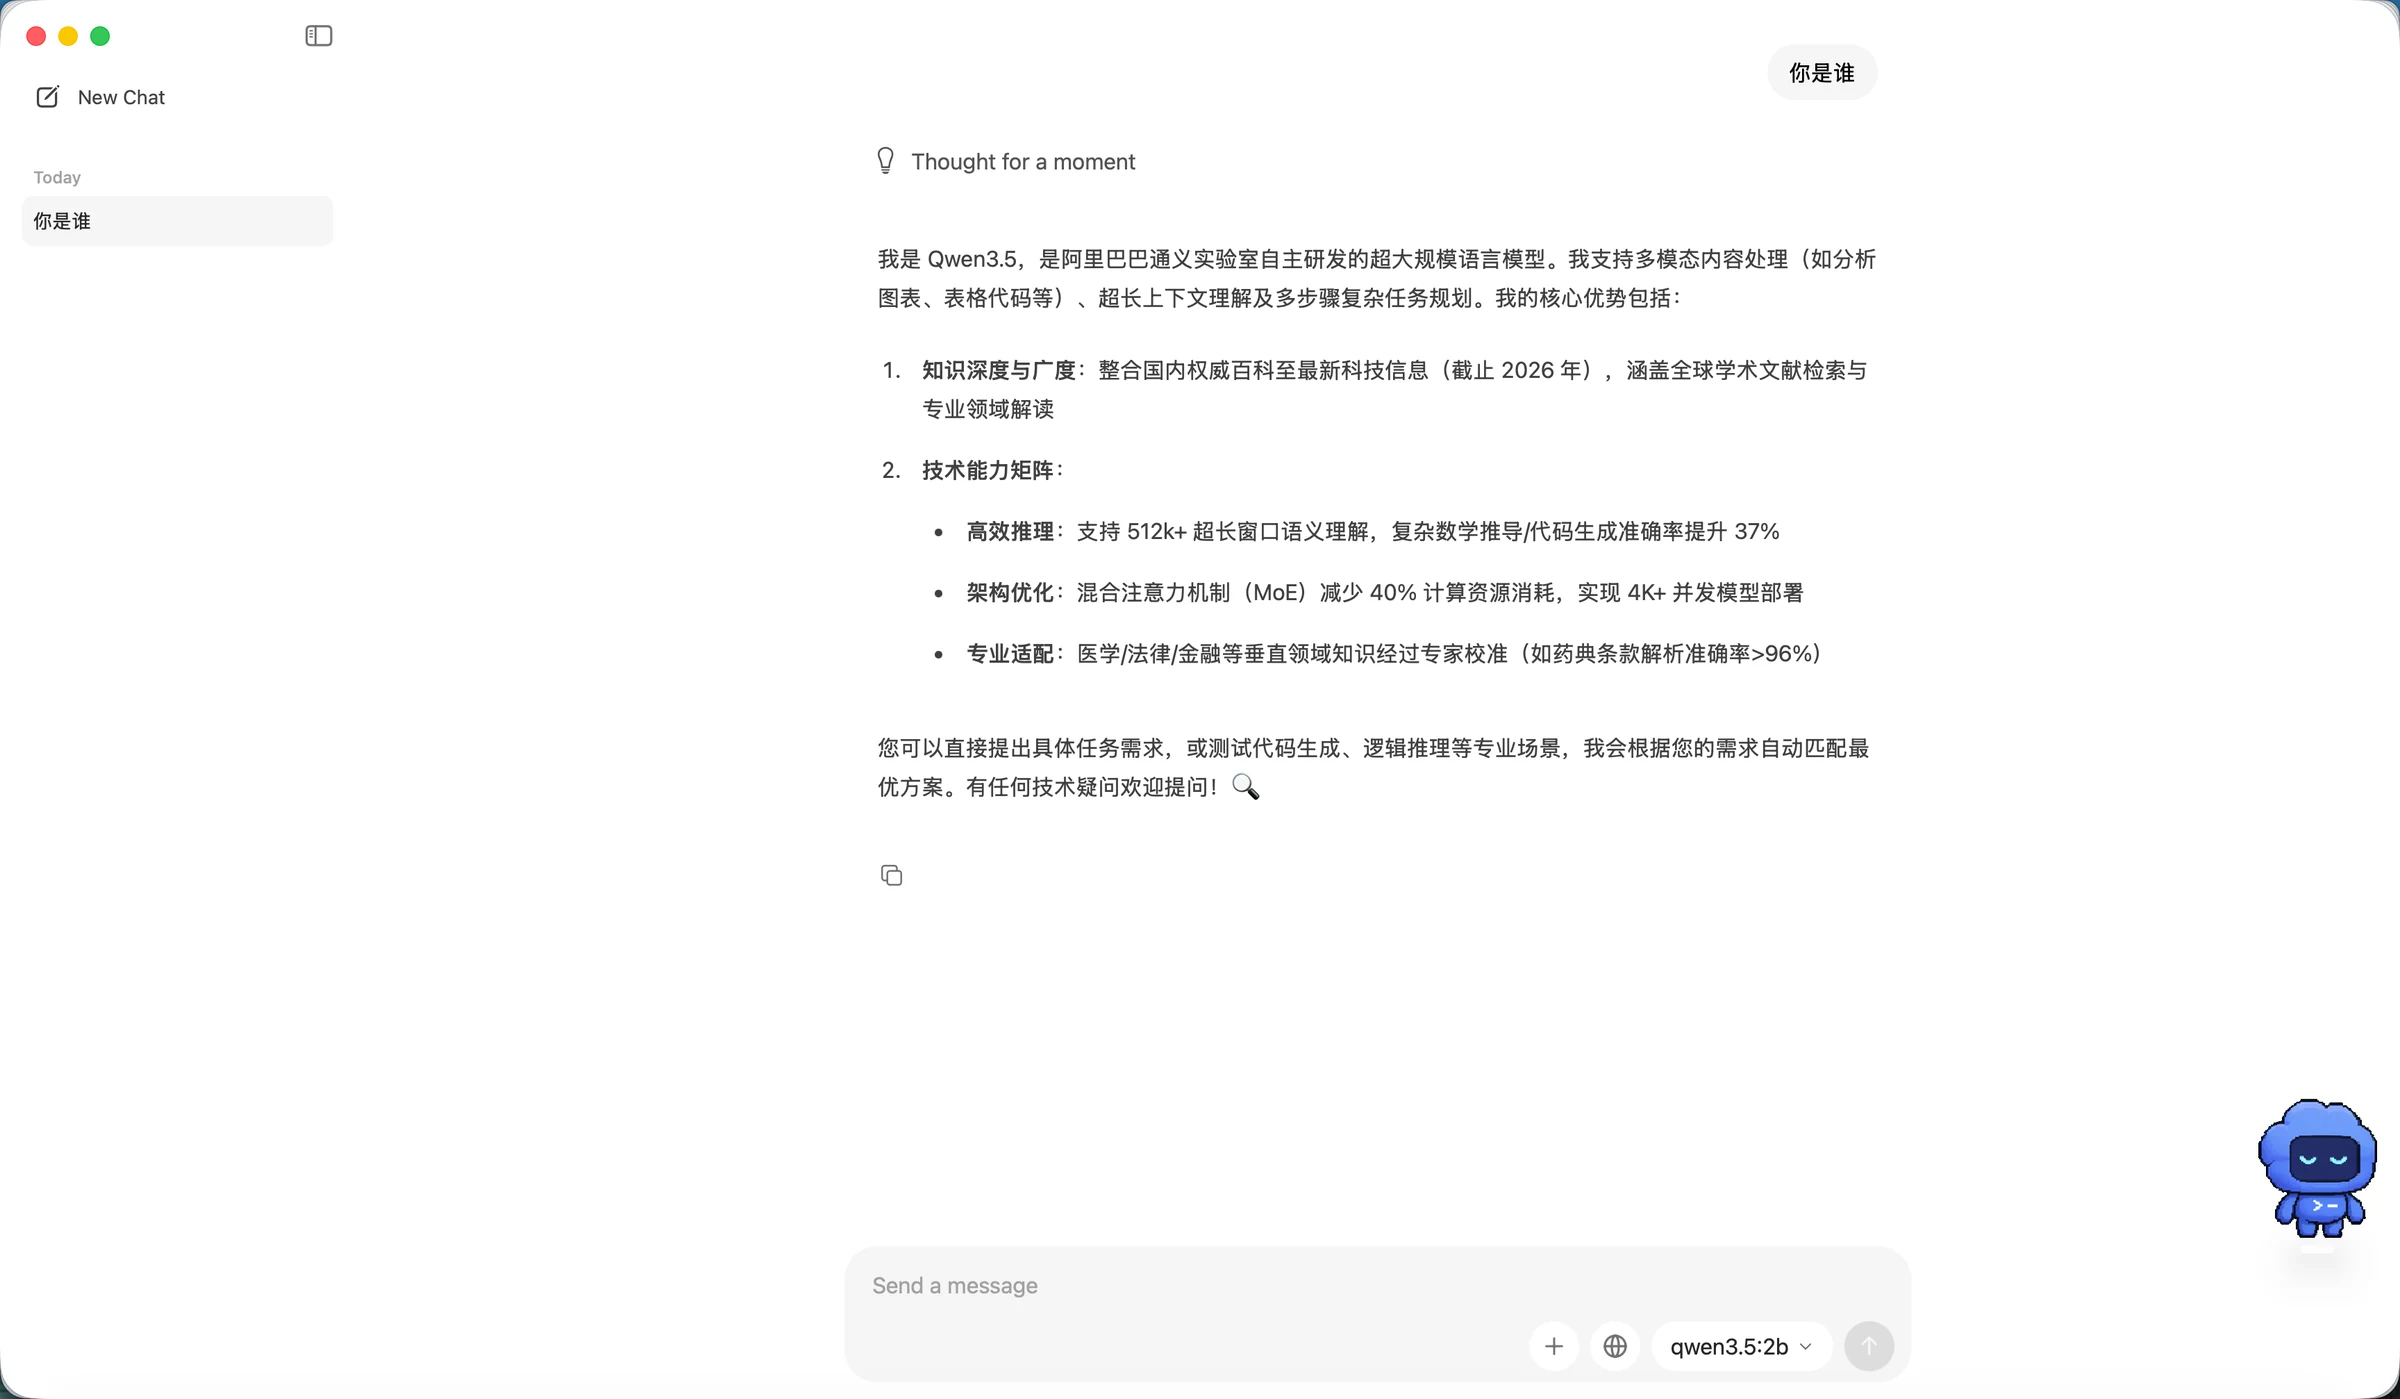
ollama run qwen3.5:2b
The page output shows that the model has started successfully. At this point you can have conversations directly in the client or call the API to test the model.
You can also chat in the client.
Ollama provides many model repositories. We can find the models we need in ModelScope and start them with Ollama.
For long-running services, Jupyter's single kernel can only execute one cell at a time, making it difficult to execute subsequent cells. So this part should be executed in the terminal. After opening the Notebook, go directly to the workspace, where you'll see "Terminal" at the bottom. Click it.
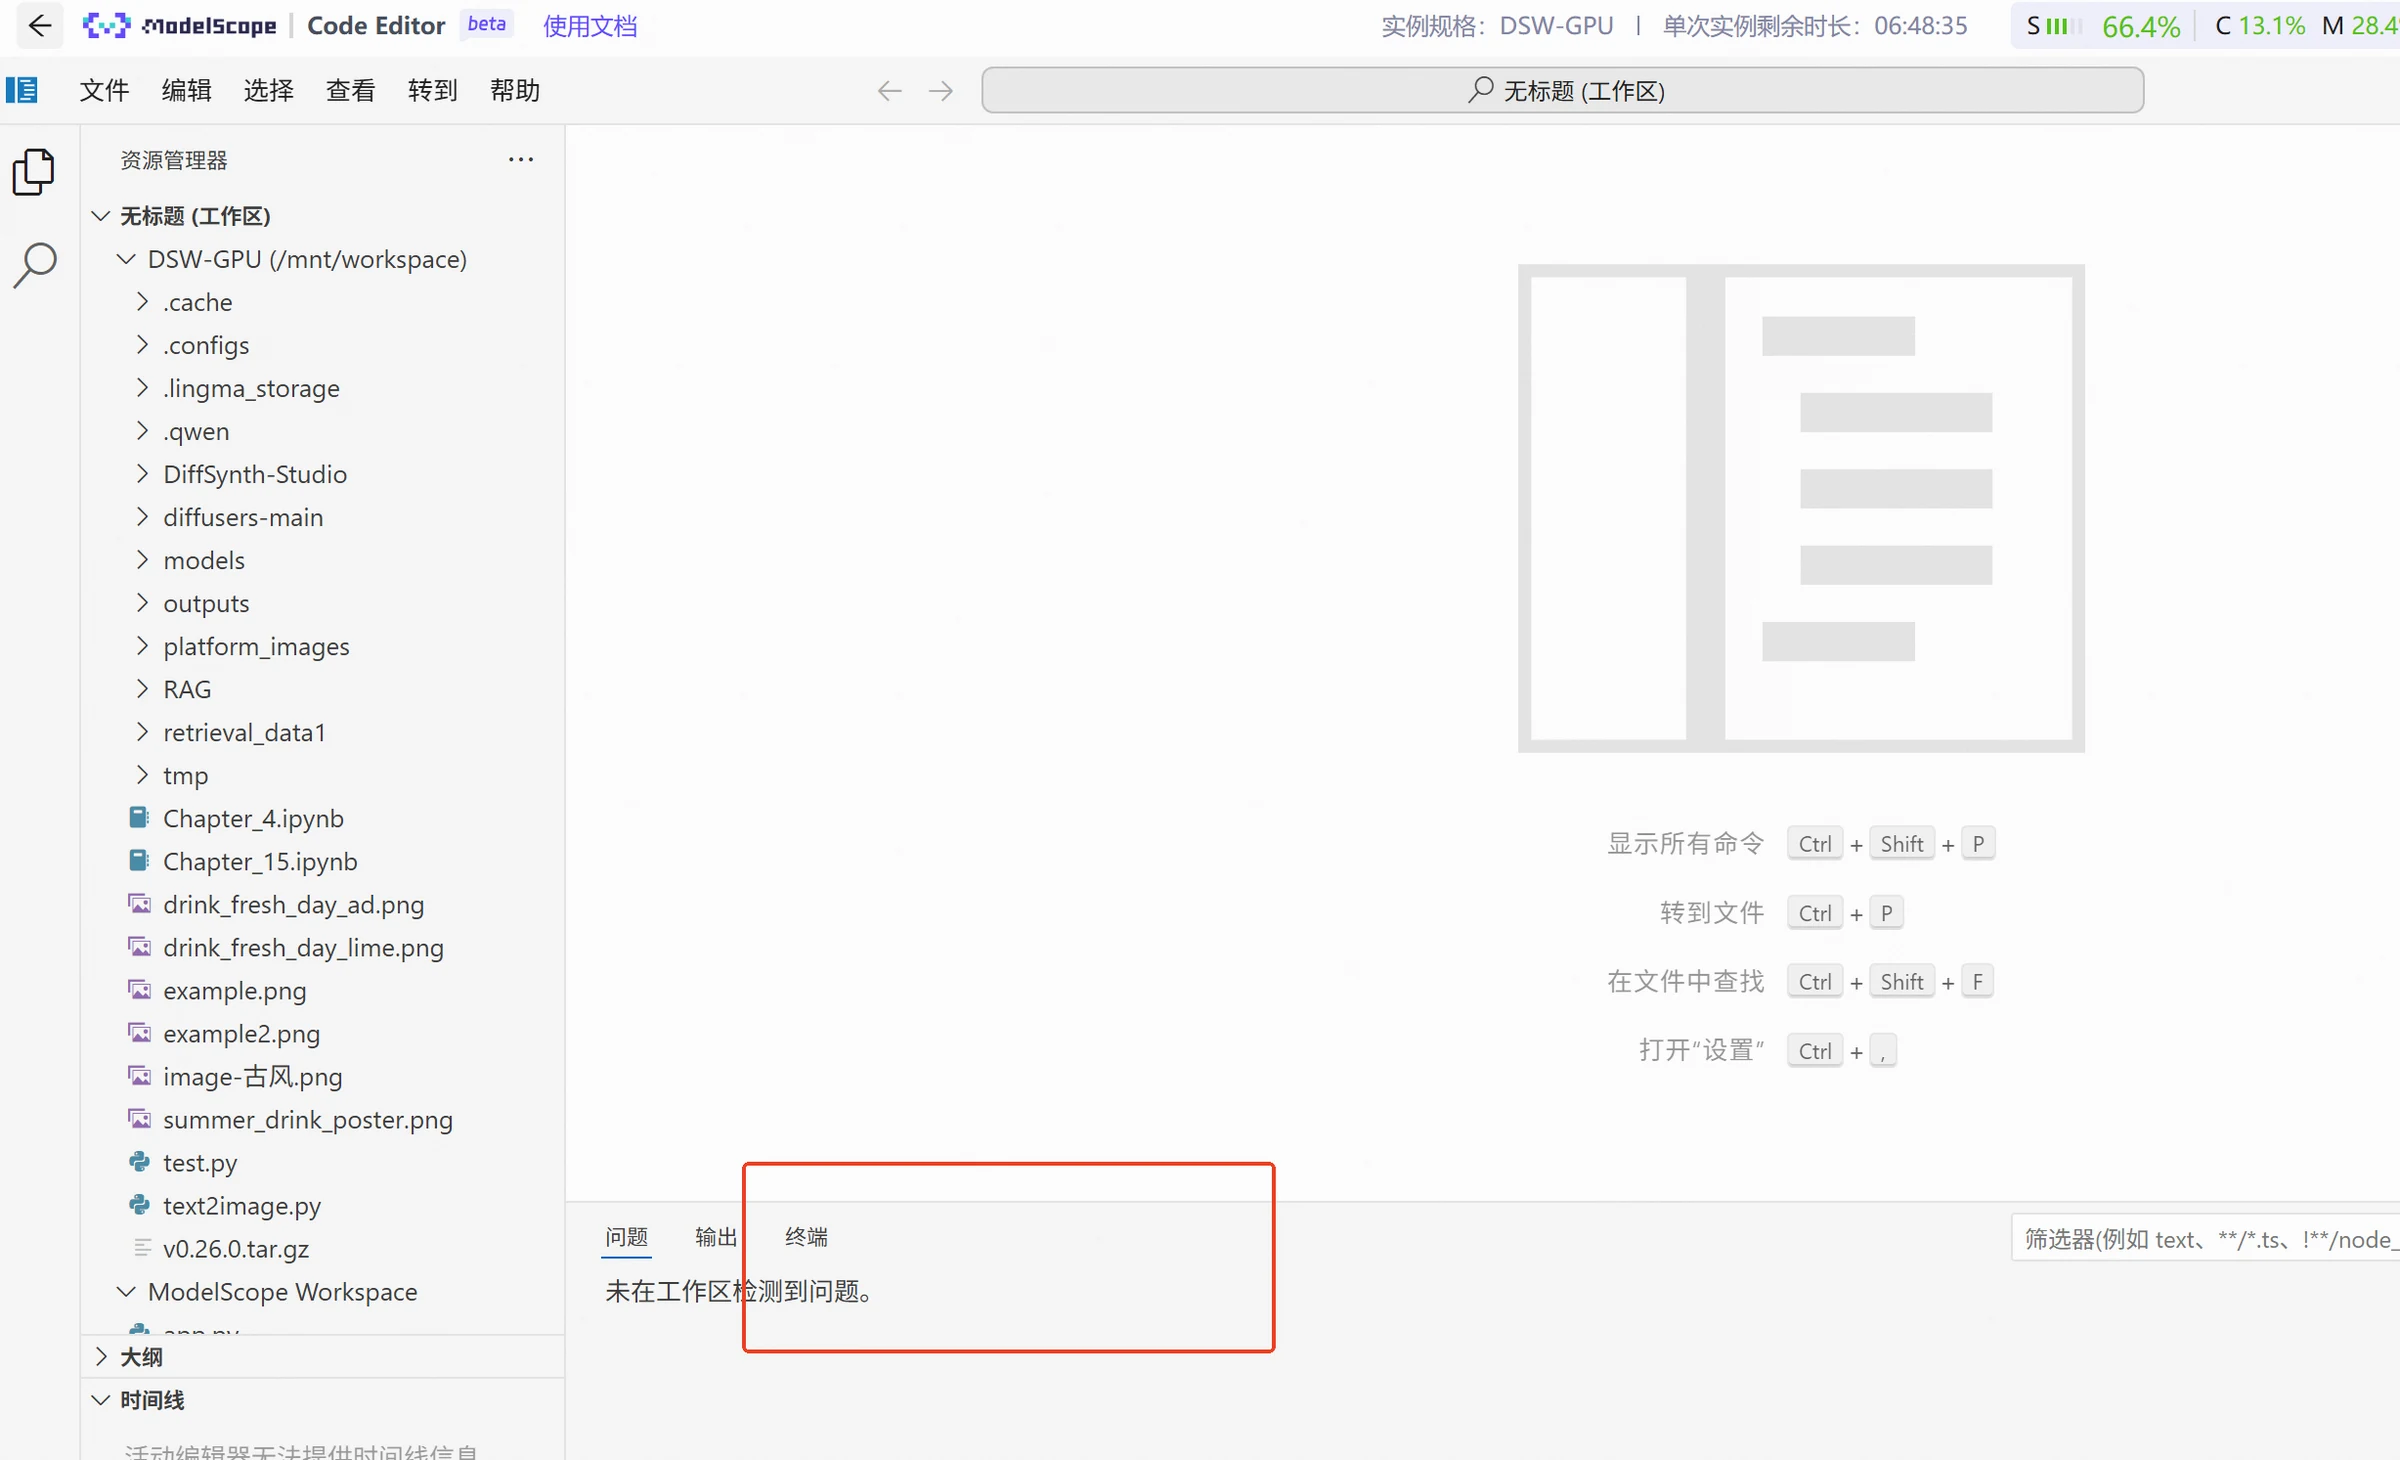
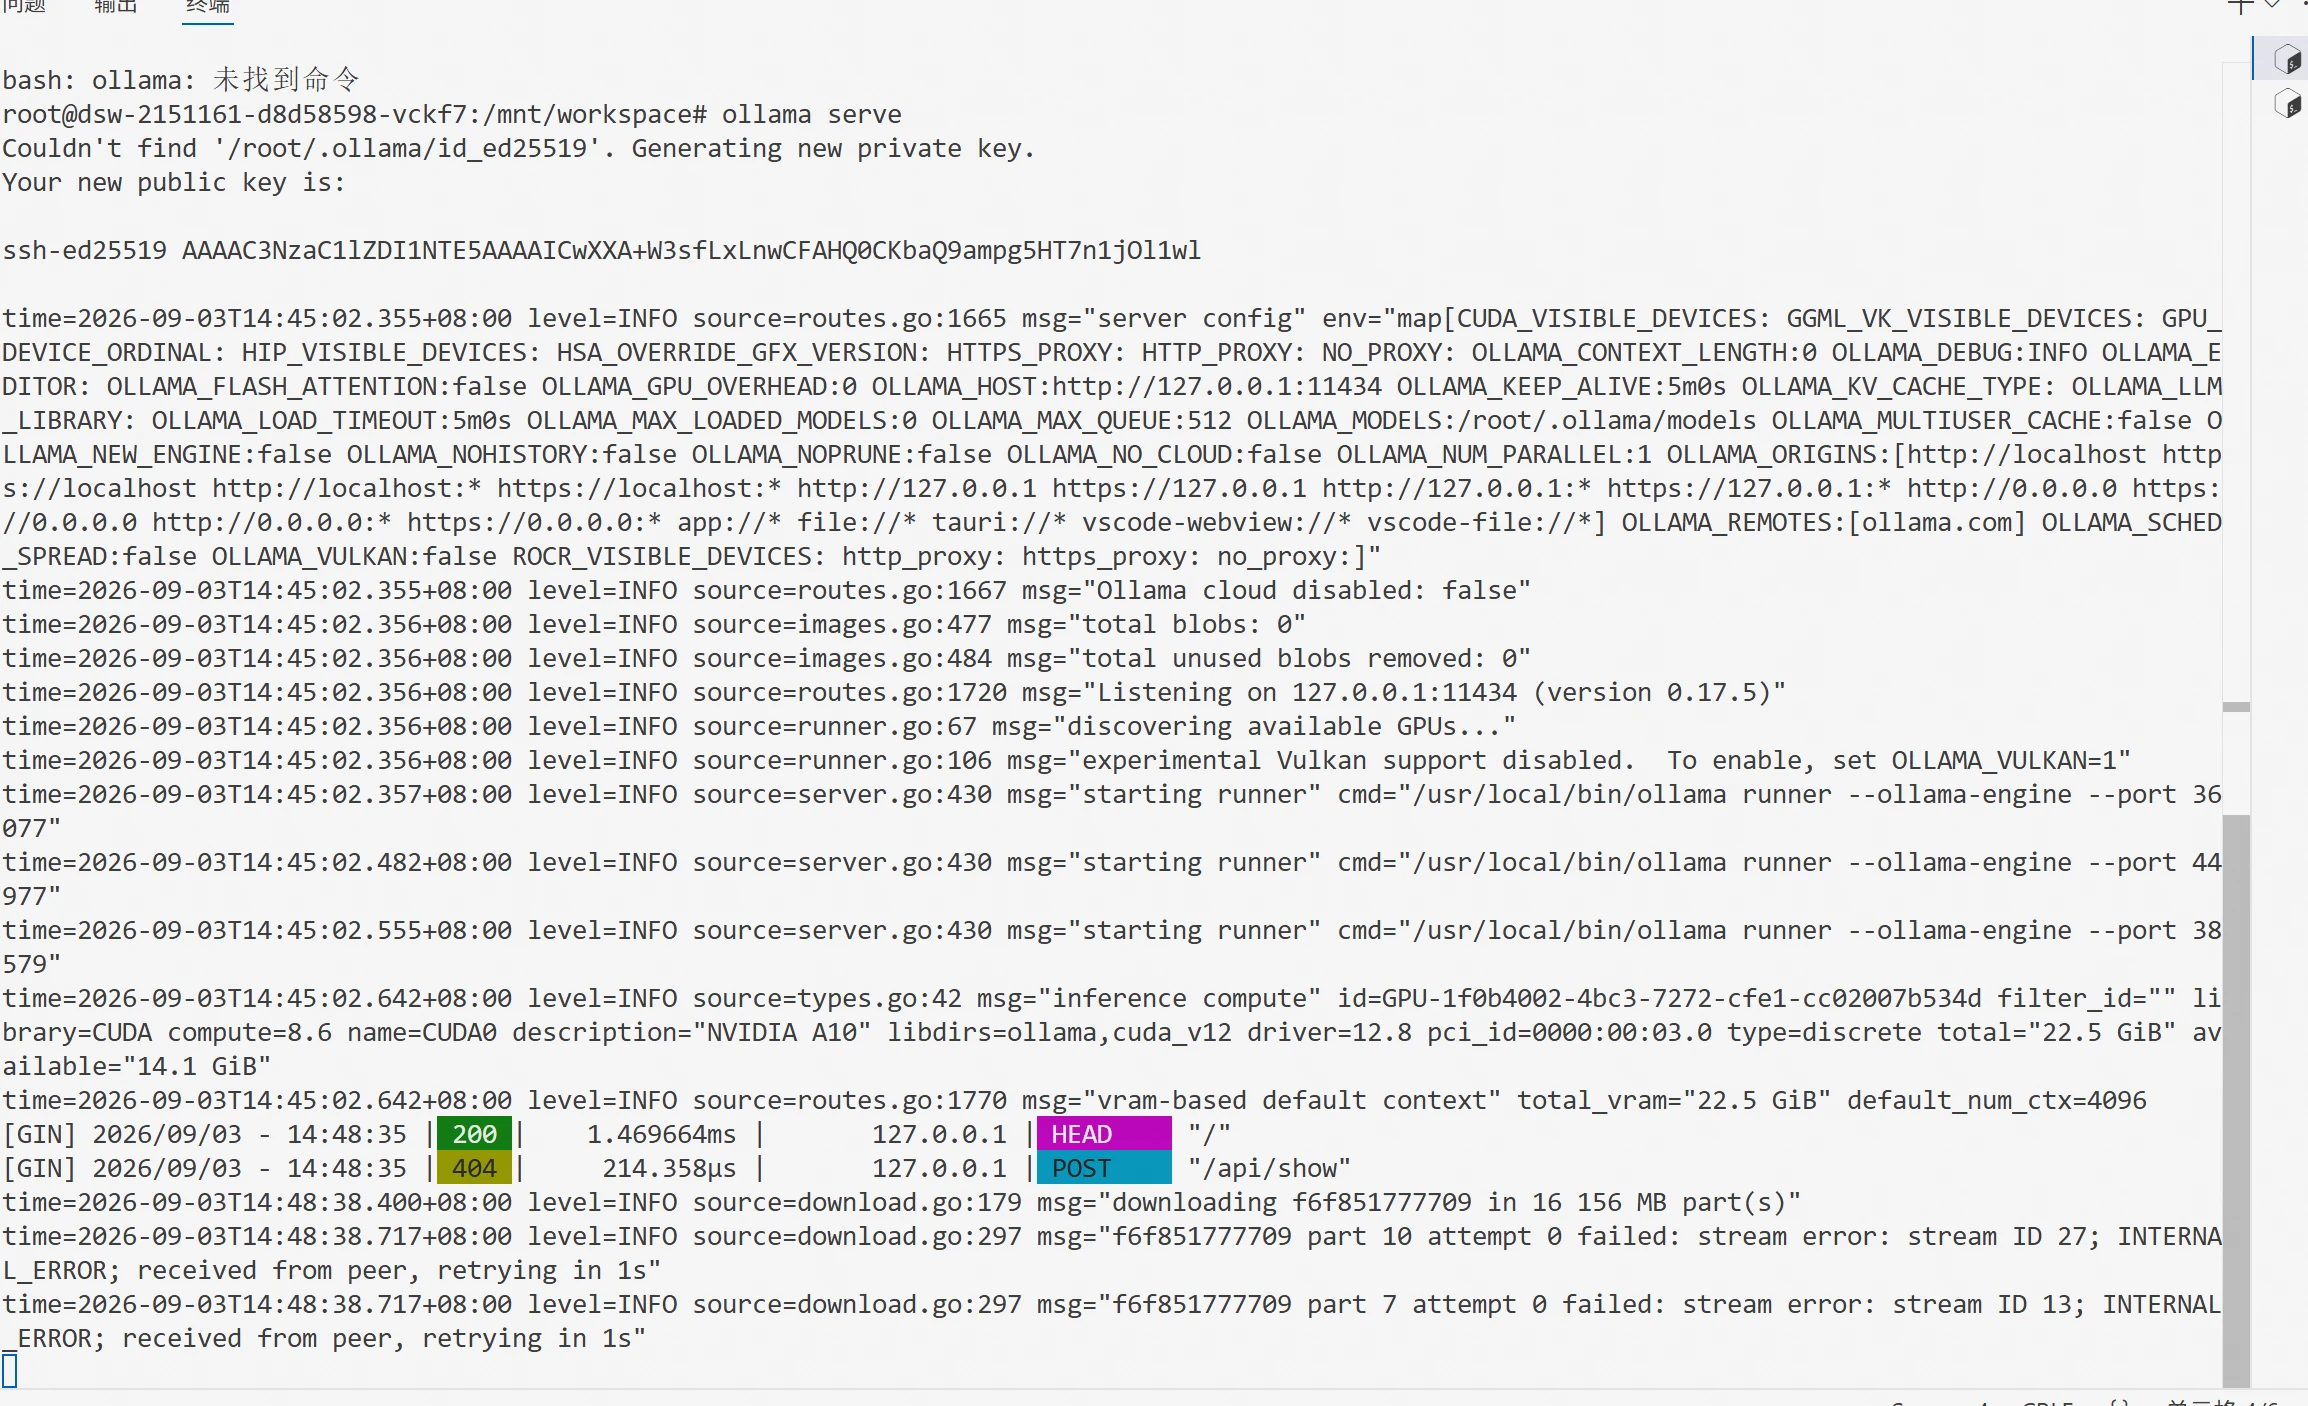
Enter in the terminal:
ollama serve
Qwen3-4B-GGUF. The first time the model runs, it needs to download the corresponding files from the model repository. This command also needs to be executed in the terminal. You can open a new terminal and execute the following command: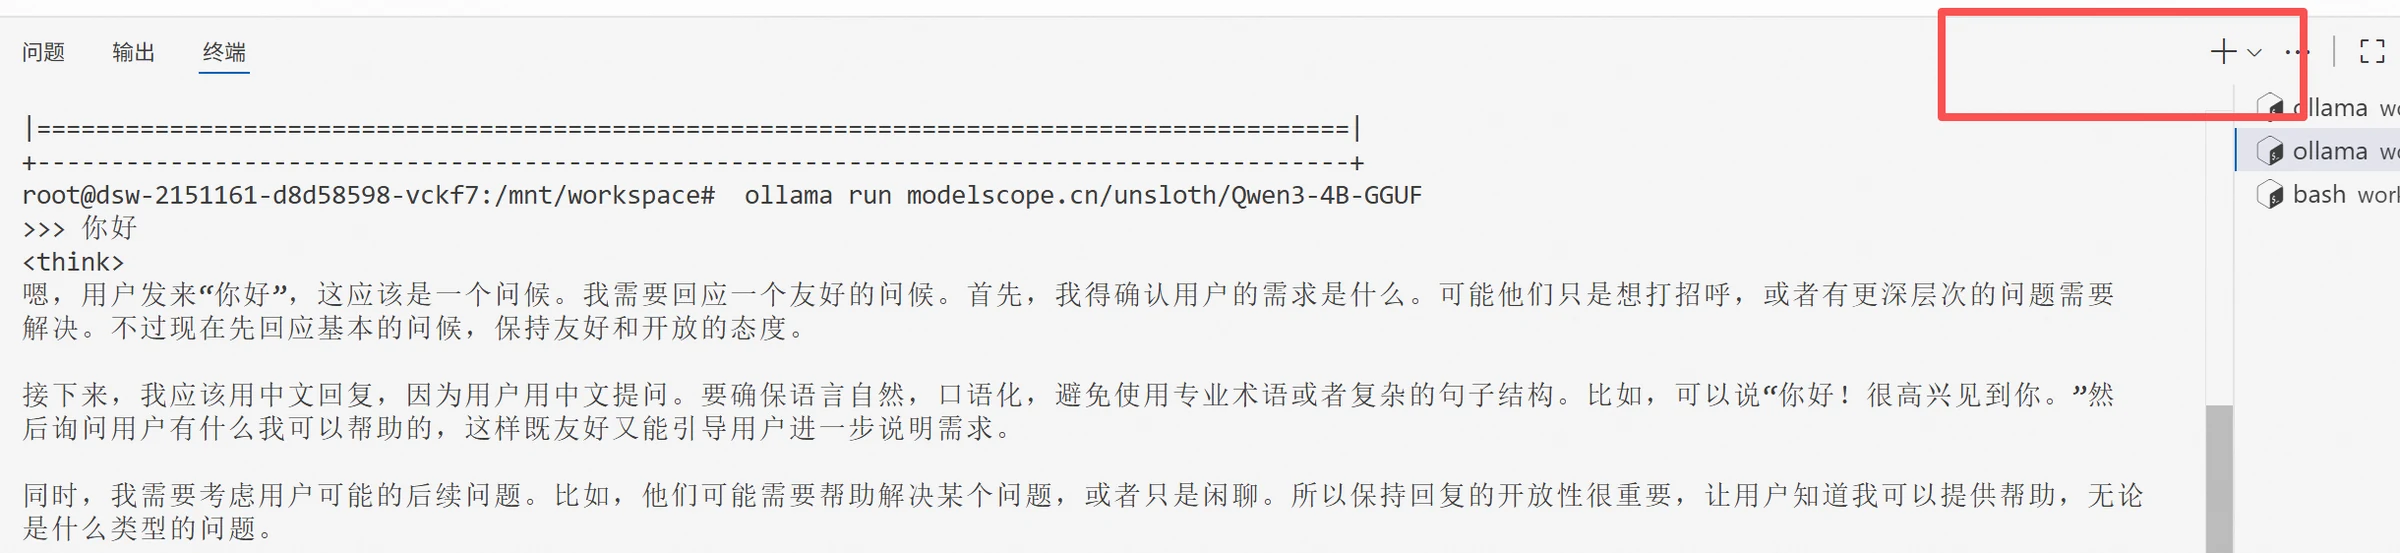
ollama run modelscope.cn/unsloth/Qwen3-4B-GGUF

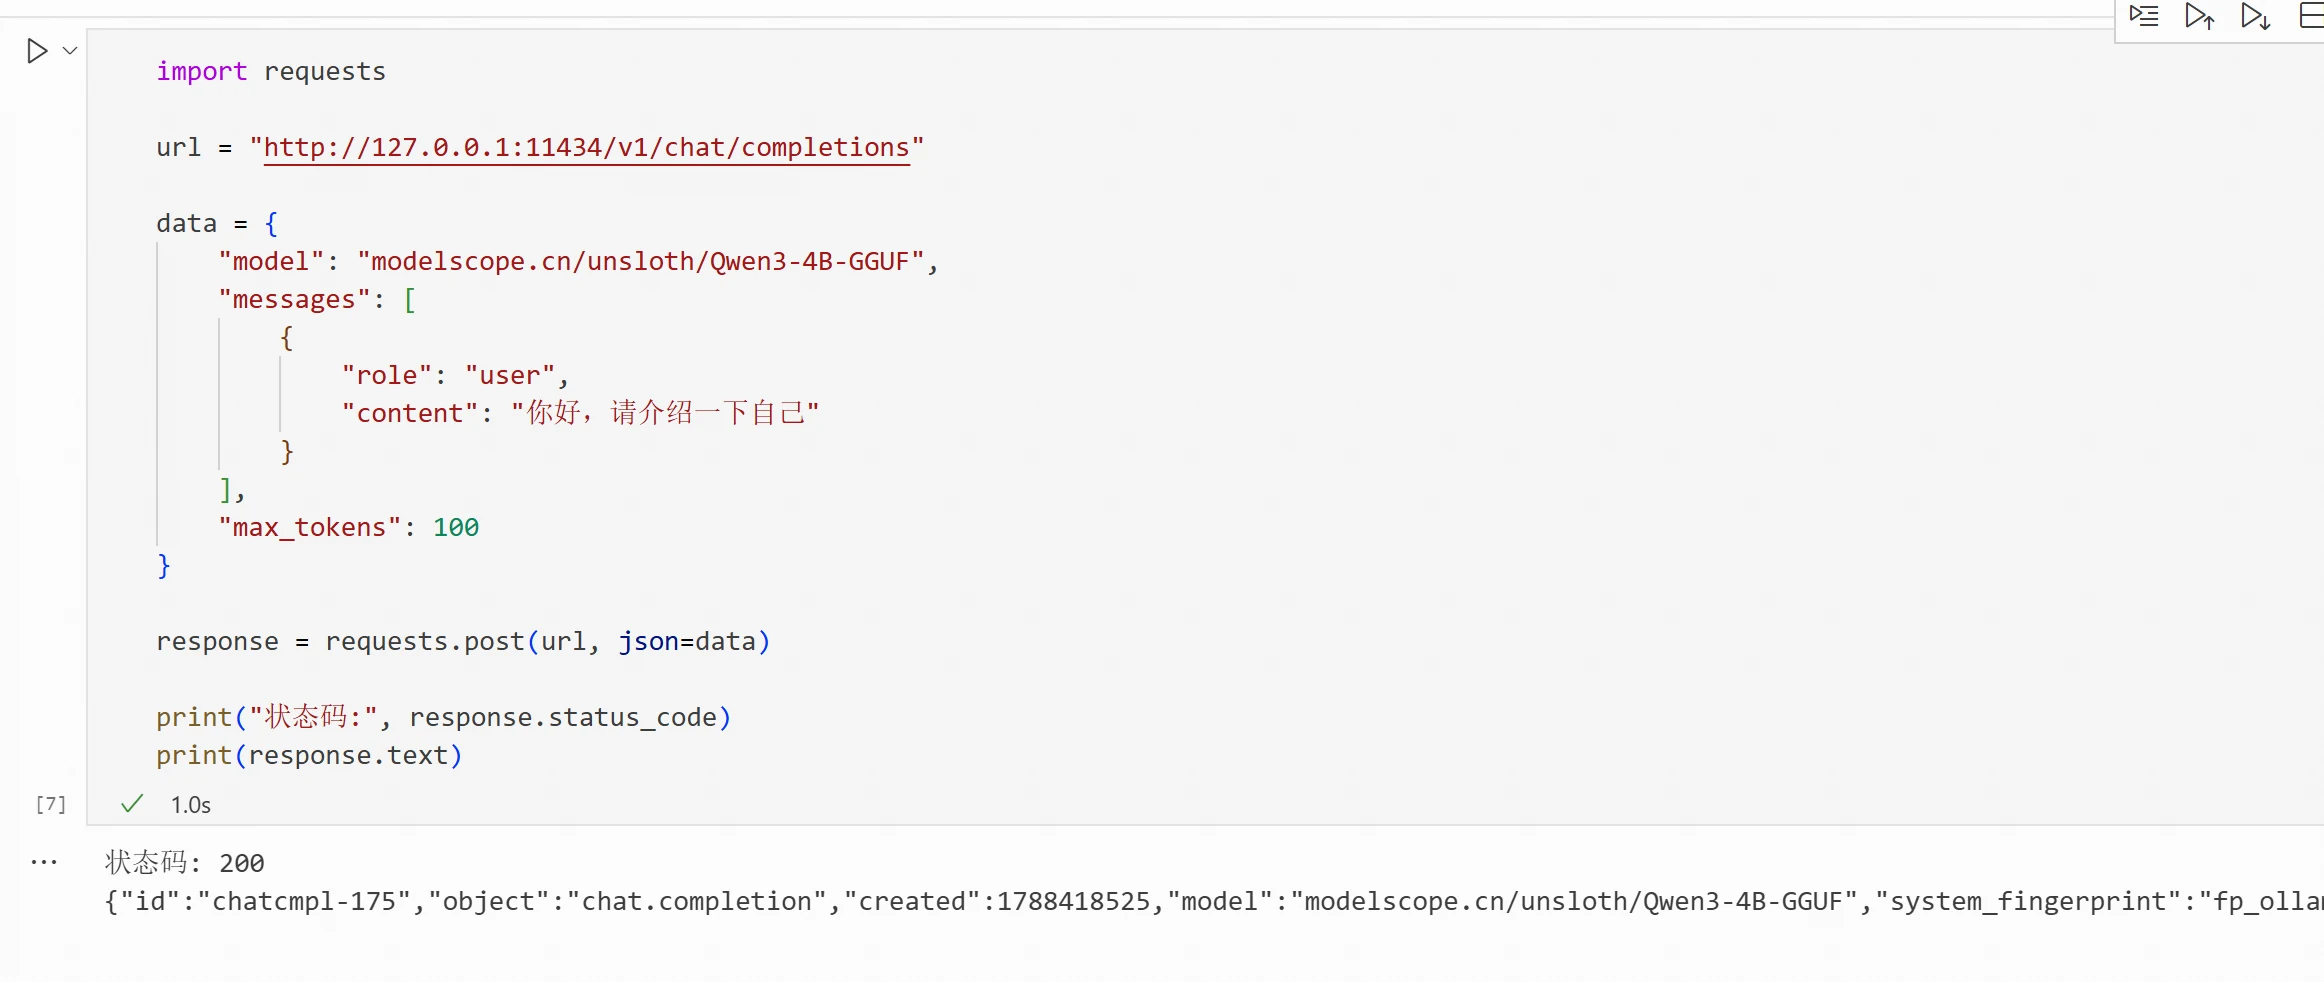
At this point, the model has started. You can call the API to test whether the model endpoint is connected. The code is as follows:
import requests
url = "http://127.0.0.1:11434/v1/chat/completions"
data = {
    "model": "modelscope.cn/unsloth/Qwen3-4B-GGUF",
    "messages": [
        {
            "role": "user",
            "content": "Hello, please introduce yourself"
        }
    ],
    "max_tokens": 100
}

response = requests.post(url, json=data)

print("Status code:", response.status_code)
print(response.text)
If the model call is successful, it will output the corresponding model result.
The complete experimental process involved in this chapter can be found at: https://modelscope.cn/gallery/liucong/b1ef397b-fe80-4fb9-812f-969fa25ea44c