In this lesson, we'll get hands-on with Claude Code, from installation, login, and model connection all the way to using it in your own projects.
If you want AI to help you modify code, organize articles, or develop a small tool you can use every day, follow along.
What is Claude Code?
Claude Code is an AI programming tool from Anthropic. You give it a task, and it can read project files, analyze implementation approaches, modify code, then run commands to check results.
Its workflow can be understood as: Understand requirements → View files → Formulate plan → Execute modifications → Check results.
For example, you can have it explain a project you don't understand, troubleshoot an error, add a feature, or read local Markdown articles to generate summaries, organize tables of contents, and rewrite content for different platforms.
This lesson primarily uses the terminal version. After installation, enter claude in your project folder to start a conversation. Those who prefer graphical interfaces can also choose the desktop application or editor integration. Claude Code Product Introduction
First get a small task running, then gradually add project rules, Skills, and external tools.
Screenshots are used to illustrate interface locations and effects. Specific versions, model names, and plan information are subject to the actual page. Use code blocks from the body text for commands.
Before Installation, Prepare These
First check your computer environment:
Item
Requirement
macOS
macOS 13 or later
Windows
Windows 10 1809 or later, can use natively or via WSL
Linux
Ubuntu 20.04+, Debian 10+, and other supported distributions
Memory
At least 4GB
Network
Can connect to the selected model service, complete authentication and requests
Node.js
Not required for native installation; Node.js 22 or later required for npm installation
Windows users are recommended to install Git for Windows to use Bash tools. If not installed, the current version also supports PowerShell. See installation documentation for complete requirements.
If you have Claude Pro, Max, or a Team/Enterprise account with corresponding permissions, you can log in with a Claude account.
Using Claude Console, billing is based on API usage.
To connect Kimi, configure the corresponding API service as described in Section 5.
Claude free accounts do not include Claude Code usage permissions. Claude subscriptions and Console API balance are two separate billing methods. Purchasing a subscription does not automatically credit your API account. Account and Authentication Documentation
Installing Claude Code
Two installation methods are available. Choose one.
Method 1: Native Installation
macOS: Open "Terminal." Linux or WSL: Open your terminal and enter:
curl -fsSL https://claude.ai/install.sh | bash
Windows: Search for and open PowerShell from the Start menu, then enter:
irm https://claude.ai/install.ps1 | iex
Note: This Windows command must be executed in PowerShell. Native installation updates automatically. The installation command comes from official quickstart.
Method 2: Installation via npm
If Node.js is already installed on your computer, you can also use npm.
First check the version in your terminal:
node -v
npm -v
Node.js 22 or later is required. If not yet installed, you can get the required version from the Node.js official website.
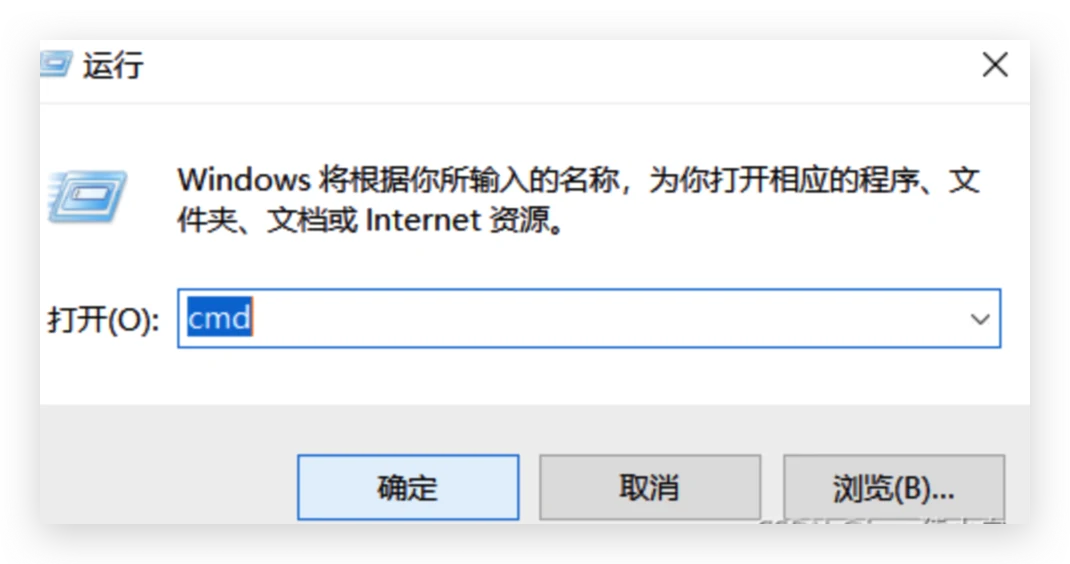
Windows users can press Windows + R, enter cmd, and click "OK" to open Command Prompt:
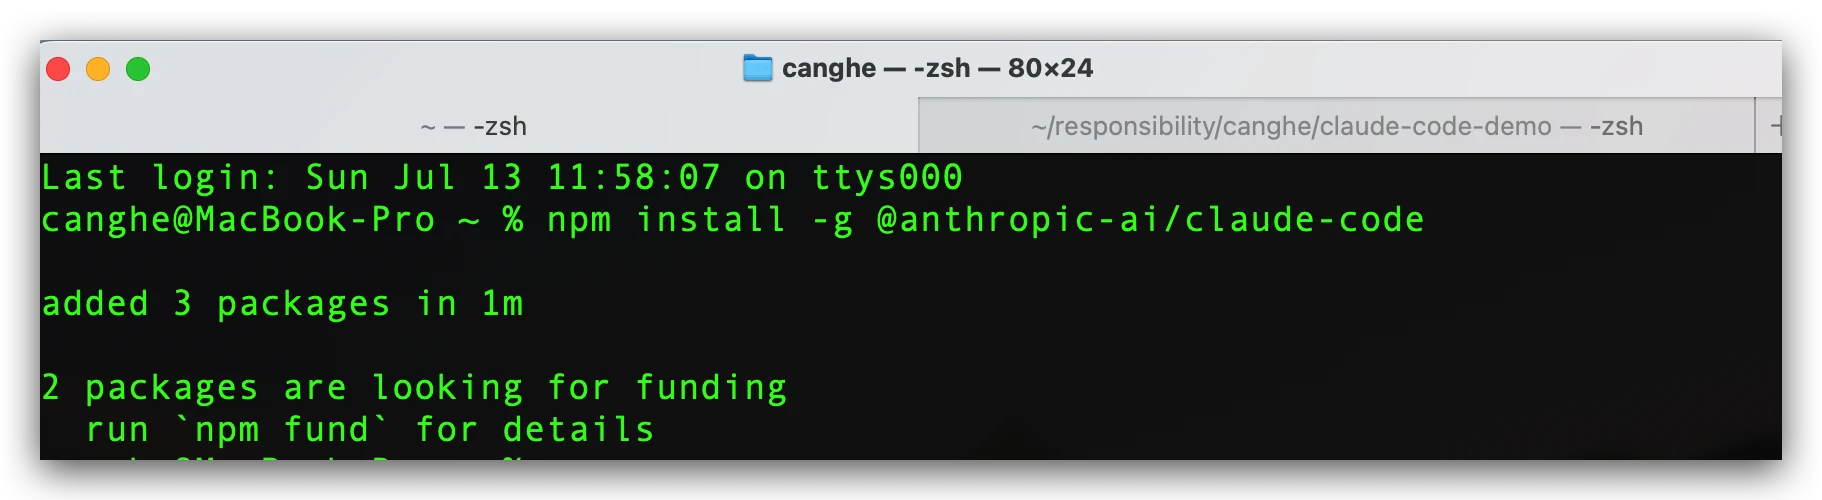
Then run the installation command. macOS and Linux users can run the same command in their terminals:
npm install -g @anthropic-ai/claude-code
After seeing the installation complete message, you can continue:
If npm reports a permission error, first check how Node.js was installed, or use the native installation method described earlier. Do not add sudo directly to the installation command. npm Installation Guide
Finally, verify the installation was successful.
Regardless of the method chosen, run in terminal:
claude --version
claude doctor
The first command displays the version number, and the second checks the installation environment. If the version displays, the program is installed. Complete account login in the next step.
Enter Your Project, Start Your First Conversation
Step 1: Open your project directory.
First prepare a test folder. It can contain a small project or copies of a few articles.
Enter in terminal:
cd "your-project-folder-path"
claude
Replace the content in quotes with your actual path. Keep the quotes if the path contains spaces.
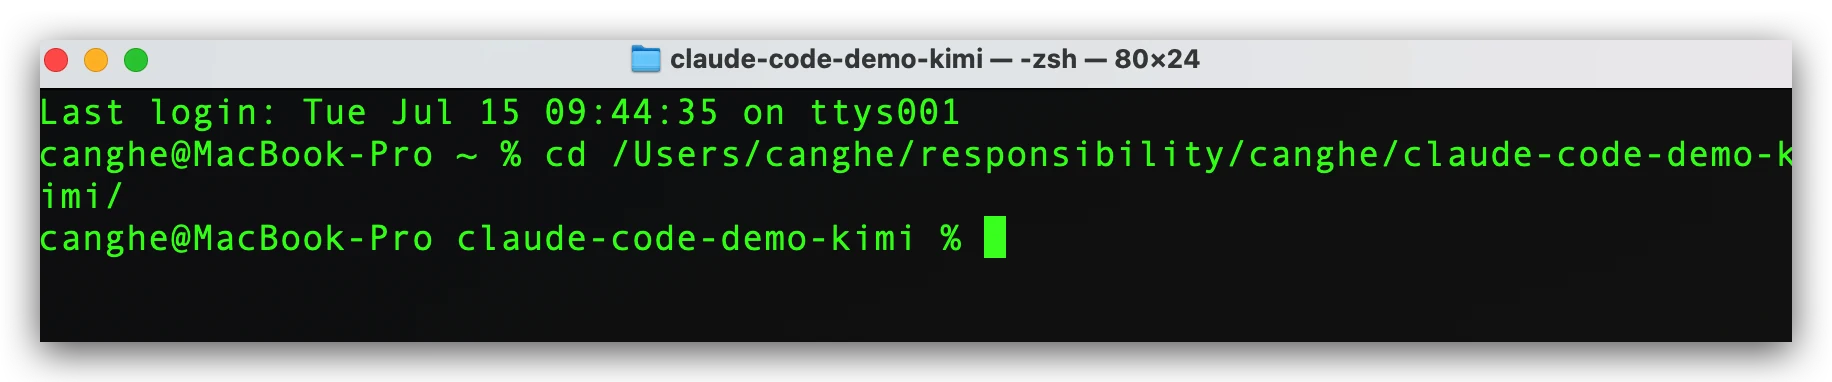
The image below shows the process of using cd to enter a folder. The path changes, indicating the terminal has switched to the corresponding directory:
Remember, whichever folder you start Claude Code in, it begins processing tasks from that working directory.
Step 2: Select interface theme.
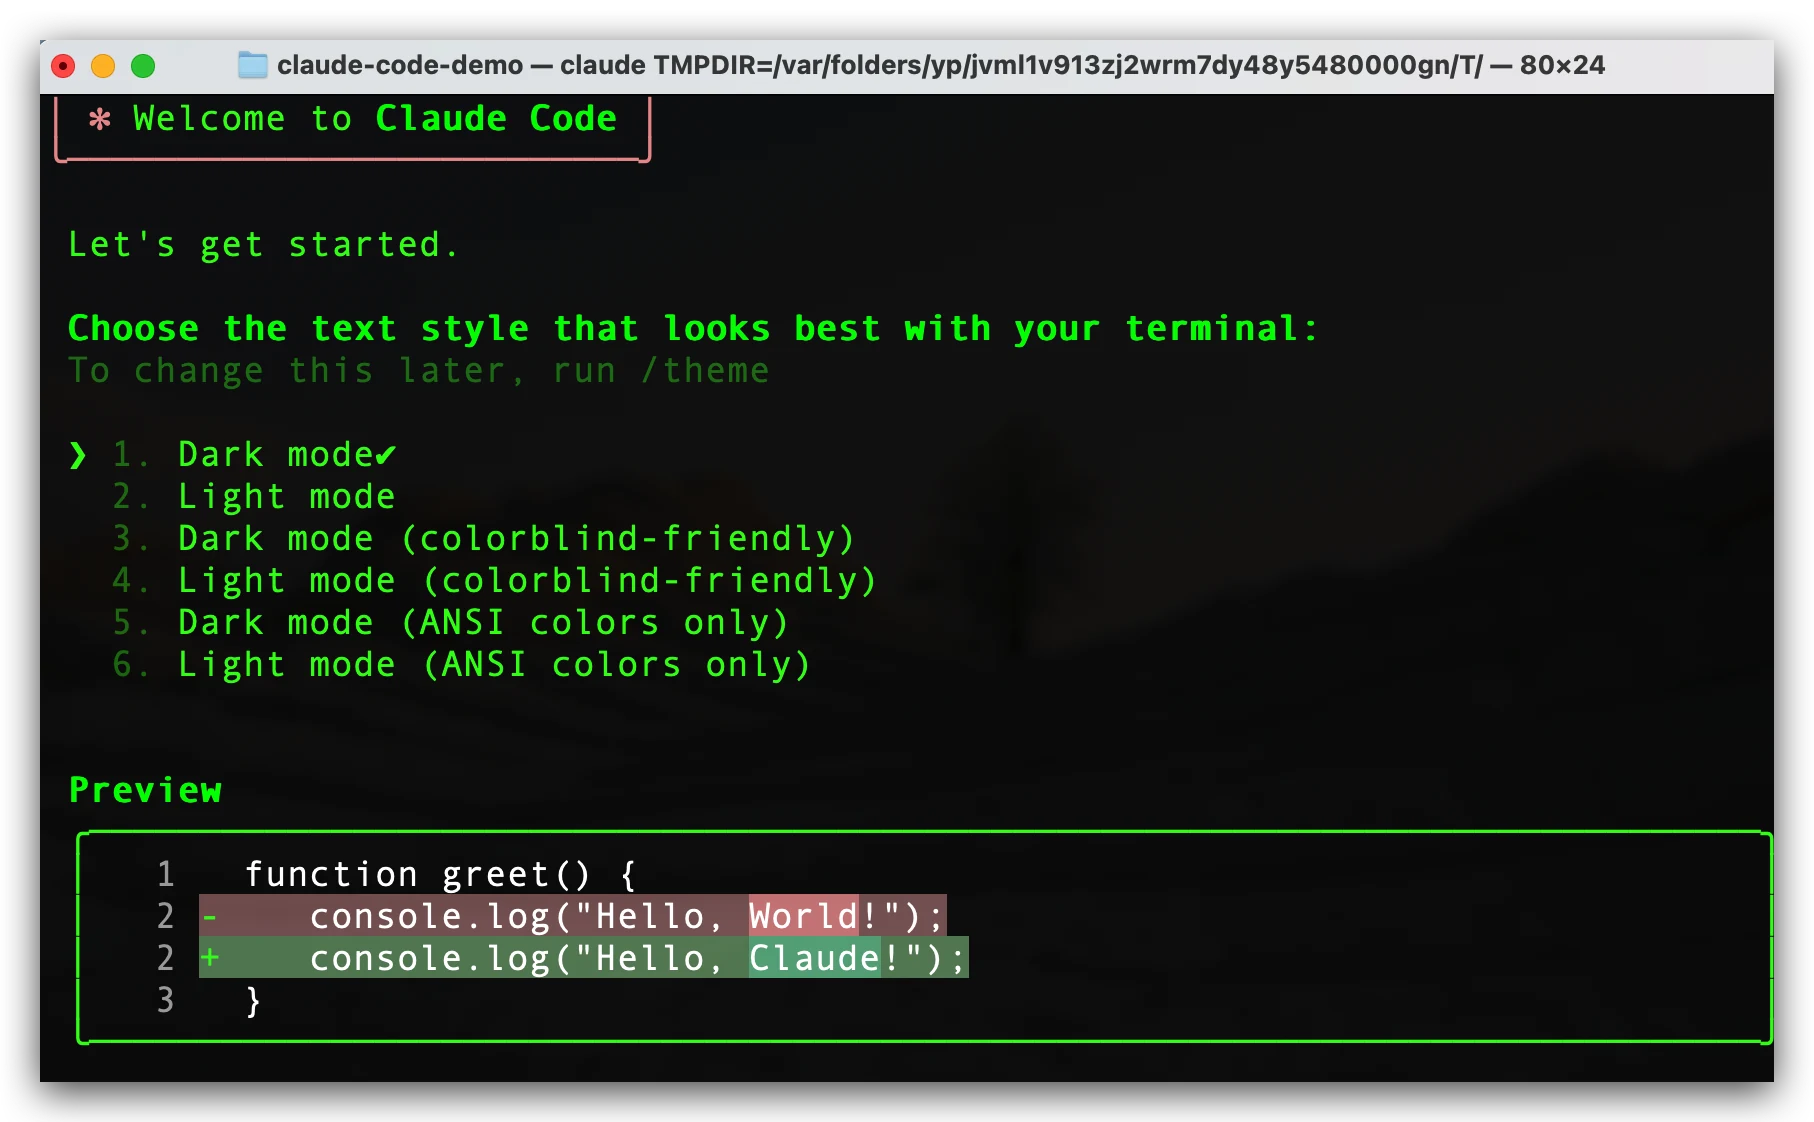
On first launch, complete the interface setup as prompted. If theme selection appears, use arrow keys to select and press Enter to confirm.
I chose Dark. The dark interface looks comfortable.
Step 3: Select login method.
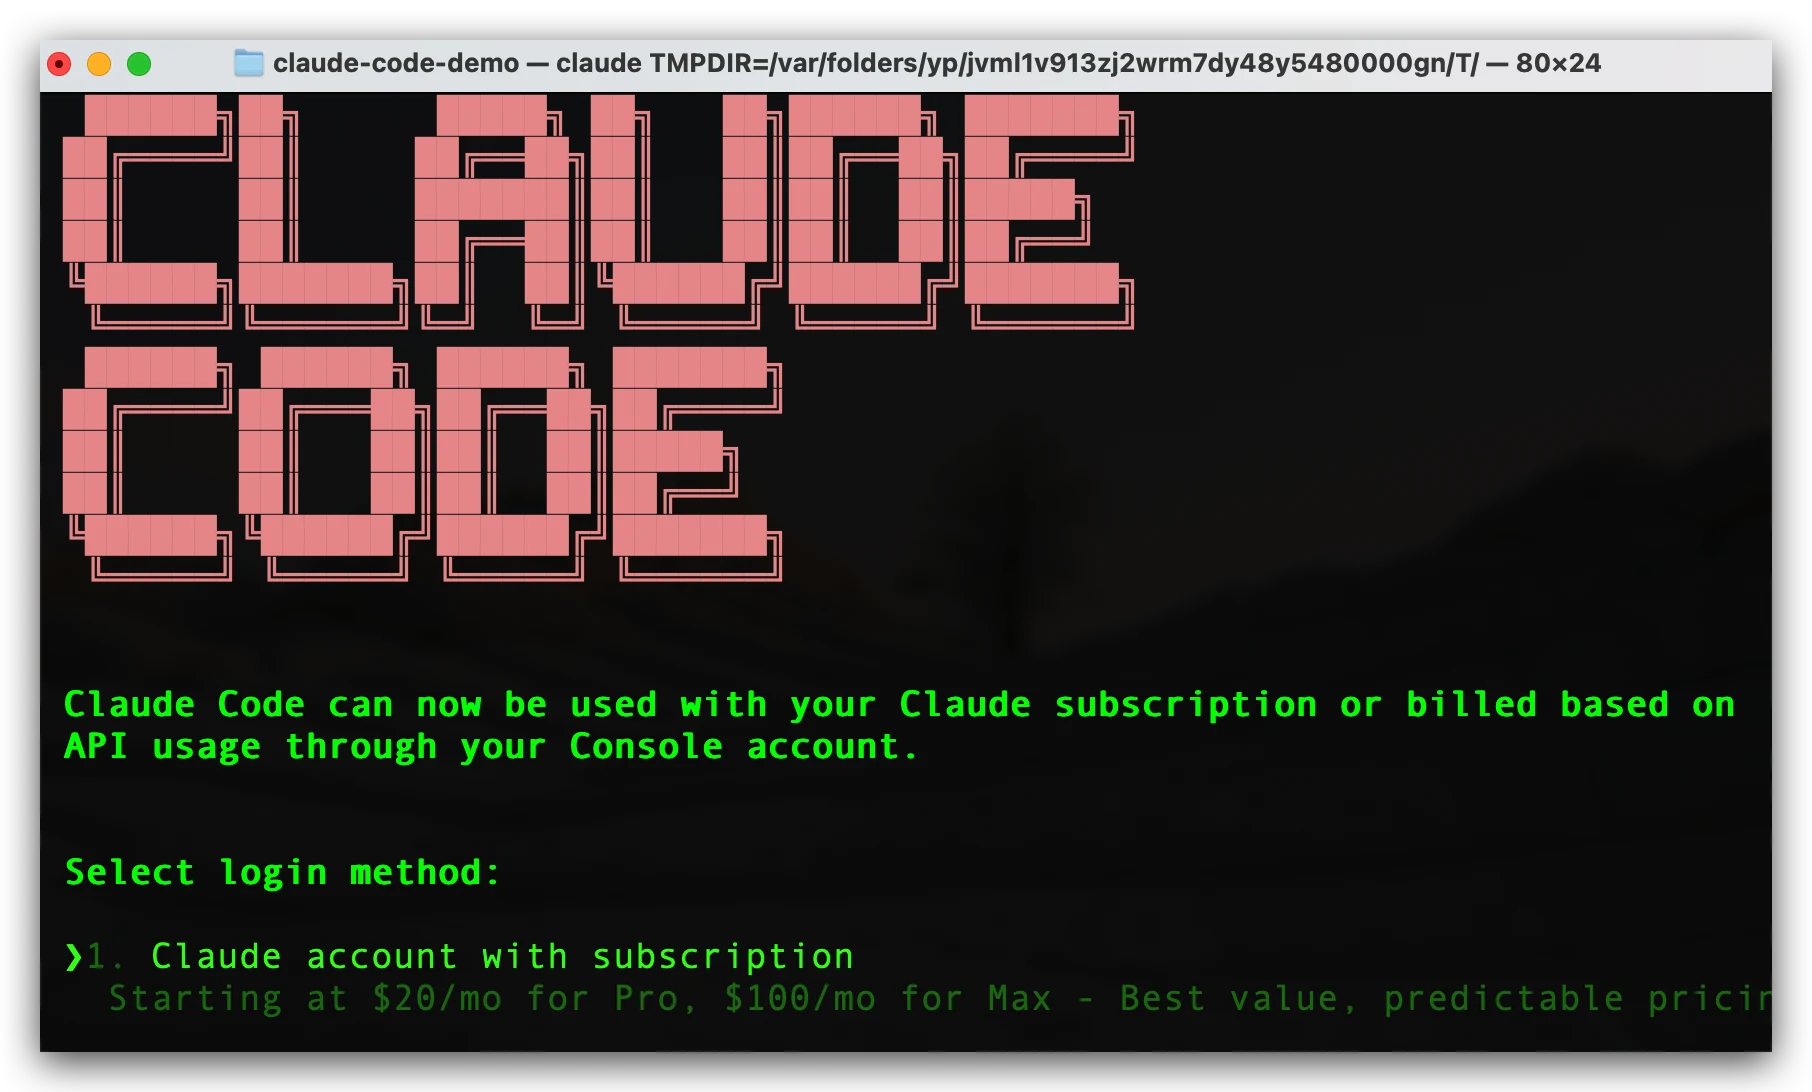
If you have a Claude subscription, select Claude account. If using the official API, select the Console entry.
Complete authorization in the browser as prompted, then return to the terminal. If the browser doesn't open automatically, copy the login link provided in the interface.
To log in again, enter in Claude Code:
/login
Kimi users can skip to Section 5 to complete configuration first, then return to test.
Step 4: Check status, send a message.
Enter in Claude Code:
/status
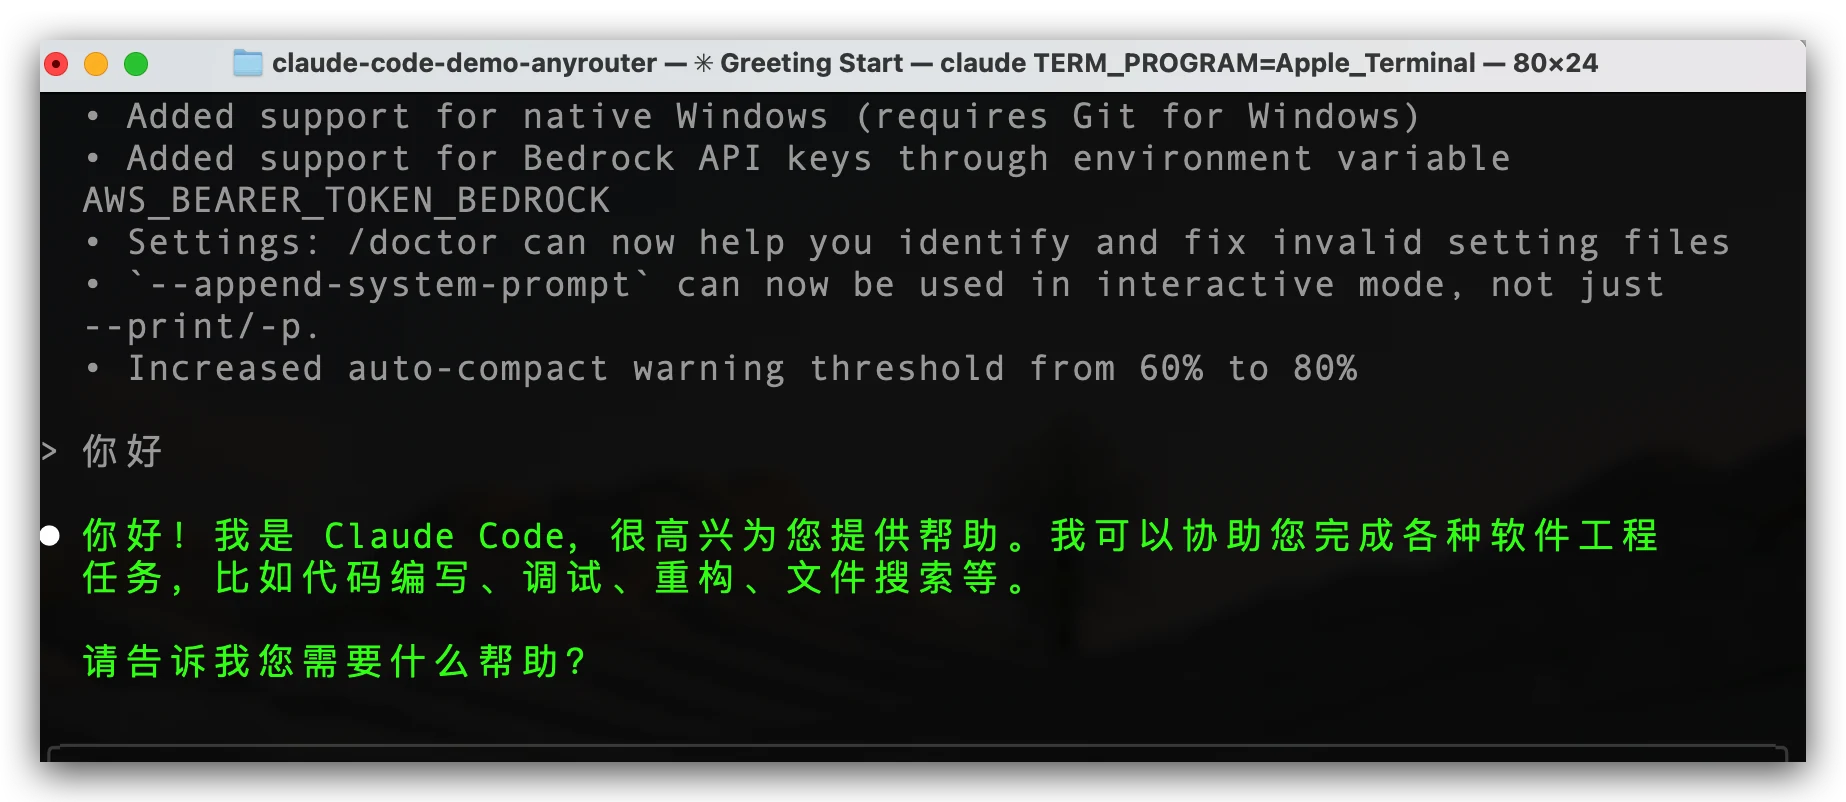
Check the current directory, account or credential source, and model configuration, then send "hello."
The terminal conversation looks like this:
After receiving a response, have it do something actually related to files:
Please reply in Chinese.
List the files and folders in the first level of the current directory, and explain what this directory is mainly used for.
Read only, do not modify files. Tell me directly if information is insufficient.
When it can find the files you prepared, you've completed the first step from "installing the tool" to "starting to use it."
Distinguish between two types of commands: claude and claude doctor are entered in the computer terminal; /status and /login are entered after entering Claude Code.
Connect Kimi to Claude Code
Claude Code handles file and tool operations, while the model handles understanding and generation. After connecting Kimi, you still work in Claude Code, but model requests are sent to Kimi.
First distinguish the two services:
Usage Method
Where to Get Key
Service Address
Kimi Open Platform, billed by API usage
Kimi Open Platform Console
https://api.moonshot.cn/anthropic
Kimi Code, uses corresponding plan benefits
Kimi Code Console
https://api.kimi.com/coding/
The keys, model names, and quotas for the two services need to be configured separately. Below demonstrates the Open Platform route. Kimi Code users should use the corresponding official integration configuration.
Step 1: Create API Key.
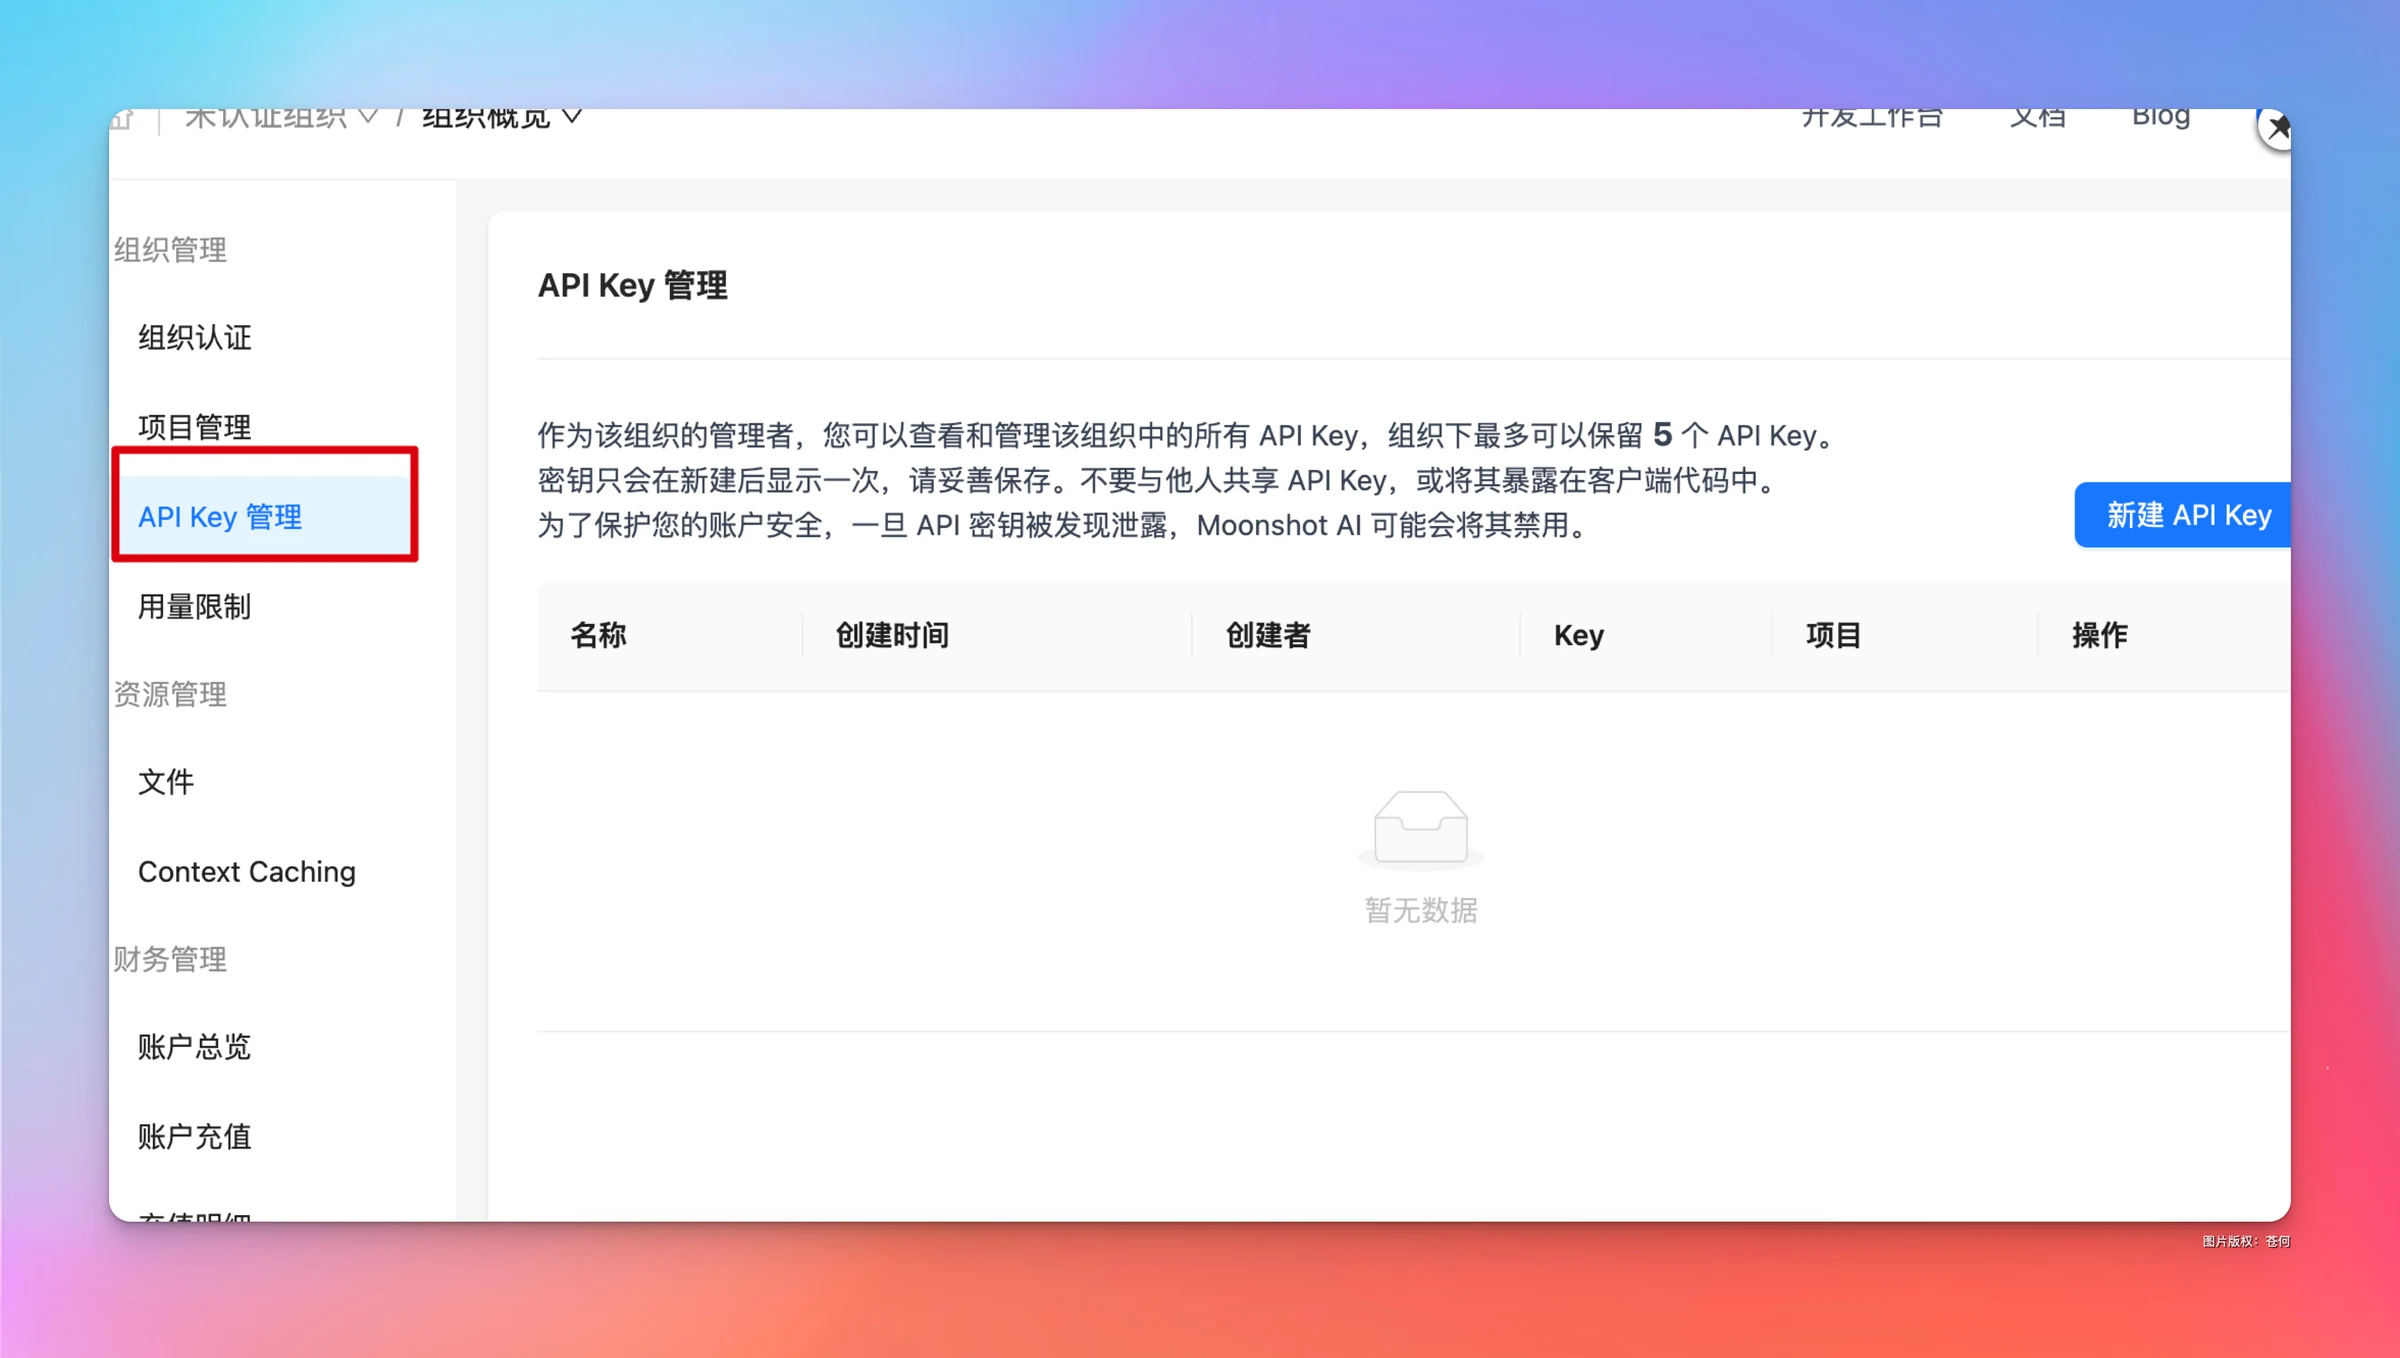
Open Kimi Open Platform, register or log in, then go to the API Key management page.
Click "Create API Key," enter a recognizable name like claude-code, then confirm creation.
Save the generated Key in your password manager. It will be needed during configuration. It serves as an API call credential. Do not put it in articles, screenshots, or public code repositories.
Step 2: Write model configuration.
Exit any running Claude Code instance. Find .claude/settings.json in the user directory:
If this file doesn't exist, create the .claude folder and settings.json. If the file already exists, make a backup first, then merge the following env field while preserving other settings.
Below, configure all task models to kimi-k3[1m] to get one set running:
Replace YOUR_MOONSHOT_API_KEY with your own Key. The model mapping and parameters here are based on Kimi Open Platform integration documentation. Before use, confirm your account has access permissions for the corresponding models.
If this is your first time using a third-party service and you're still on the account setup page, complete initialization according to the same official documentation: add "hasCompletedOnboarding": true at the top level of .claude.json in the user directory, preserving existing fields. This file and .claude/settings.json are two different files.
When checking configuration, watch out for simultaneous ANTHROPIC_API_KEY settings. The Open Platform route uses ANTHROPIC_AUTH_TOKEN. Remove conflicting authentication fields. The env in settings.json overrides terminal environment variables of the same name, so don't fill in conflicting addresses and models in multiple places.
Step 3: Restart and verify.
Run in the project directory:
claude
Then enter /status to confirm the service address is https://api.moonshot.cn/anthropic and the model is the configured Kimi model.
First send "hello," then try file reading again. Both operations succeeding means both conversation and project operations are working.
If using export in the terminal to temporarily set variables, you need to start claude in the same terminal window. After closing the window, temporary variables are not automatically preserved.
Let Claude Code Start Working
I recommend starting with a clear, small requirement.
For example, understanding the project:
Read the README and main entry files, and tell me:
1. What problem this project solves.
2. What each main directory is responsible for.
3. What commands should be used to start, build, and check.
Give me an explanation first, do not modify code.
For example, fixing an issue:
The text in the platform selection box is not fully displayed.
Reproduction steps: Open the content distribution assistant, expand the platform list, select "Xiaohongshu."
Expected result: Platform name fully displayed, window can still operate normally when narrowed.
Please locate the relevant styles, only modify this issue, and tell me how to verify.
When the task is slightly more complex, have it create a plan first. Start plan mode in terminal:
claude --permission-mode plan
You can also press Shift+Tab in an existing session to switch to Plan mode. After reviewing the plan and confirming the direction, choose to implement. To check permission prompts for each operation, use claude --permission-mode default to start and watch the interface permission status. Permission Mode Documentation
Write long-term rules into CLAUDE.md.
Some things don't need to be repeated every time. What language to use, what technology the project uses, where to put results—all can be written in CLAUDE.md in the project root directory.
Enter /init in Claude Code to generate an initial draft, then review and modify. For a content distribution plugin, it can be written as:
# Project Description

This is an Obsidian content distribution assistant plugin, built with TypeScript.
The goal is to convert Markdown notes into copy for different platforms.

# Collaboration Requirements

- Reply in Chinese, read relevant code before making modifications.
- Use Obsidian's API and theme variables to maintain consistency with the application interface.
- Original notes are only for reading; generated results are placed in a separate preview area.
- API Keys are configured through the settings page, not hardcoded in source code.
- After each completion, explain changes, check results, and note what still needs manual verification.
Project rules should be specific and guide actual operations. The filename CLAUDE.md must use this exact casing. To check memory settings, use /memory. Project Memory Documentation