Pi's core is the Agent Loop, model invocation, tools, and terminal interface. You need Skills, Prompt Templates, Extensions, and Packages — just configure them.
Additionally, if you're already working with Codex, Claude Code, or Agent Skills, Pi is definitely worth learning.
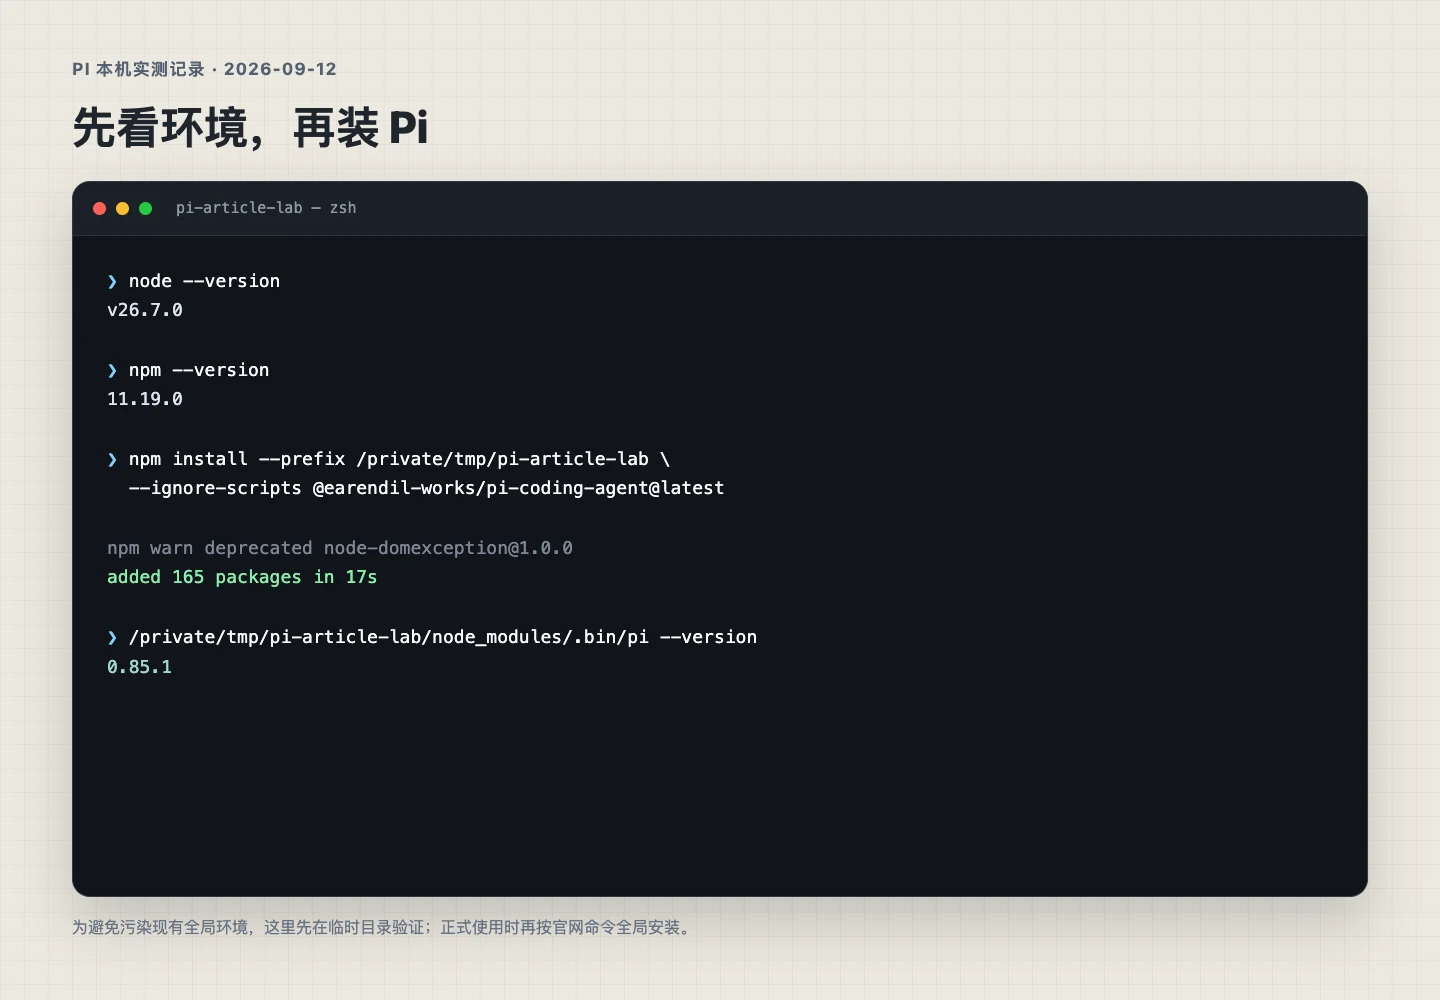
Local Environment for This Test
System: macOS 26.0.1, Apple Silicon;
Node.js: v26.7.0;
npm: 11.19.0;
Pi: v0.85.1;
Installation method: Isolated installation in temporary directory, 165 packages, completed in 17 seconds;
What Exactly is Pi?
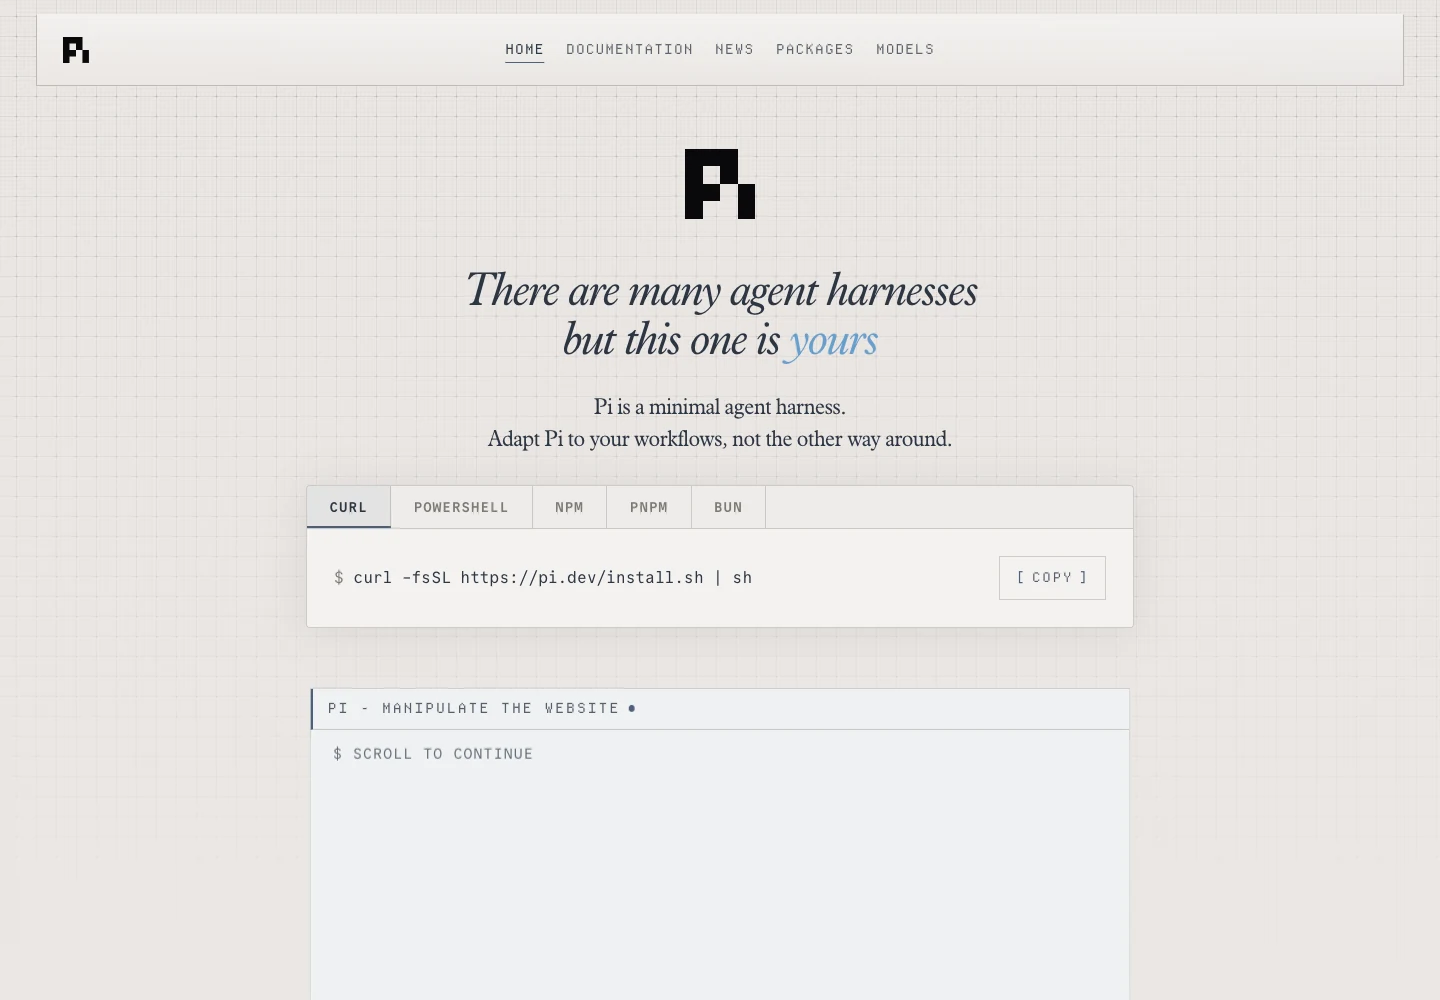
The official positioning is "minimal terminal coding harness" — in plain terms, it's a minimalist terminal Agent foundation.
Its repository contains several core components:
pi-ai: Unified connection to OpenAI, Anthropic, Google, DeepSeek, OpenRouter, Ollama and other models;
pi-agent-core: Handles tool invocation, state management, and Agent loop;
pi-tui: Terminal interaction interface;
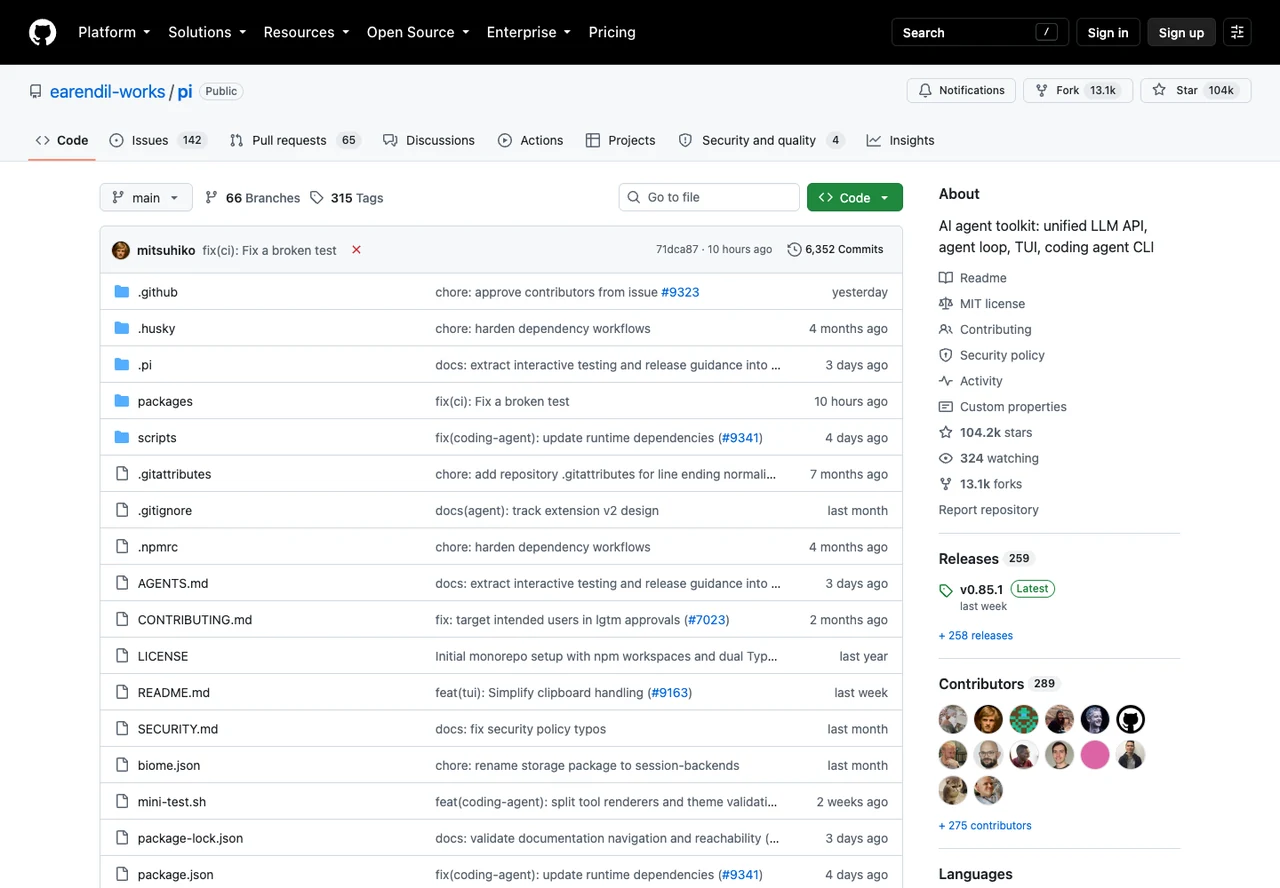
pi-coding-agent: The CLI we actually install and use.
Pi's default core tools given to the model are only four: read, write, edit, and bash.
The new CLI can also selectively enable grep, find, ls, and Windows has optional PowerShell tools.
It may not look like much, but at the Agent level, it's all about reading, writing, editing, and executing. Many more complex capabilities can actually grow from these primitives.
Many Agent products build planning, sub-Agents, MCP, permission approval, and task lists entirely, and users just need to configure them.
Pi gives you a runnable Agent skeleton that you can customize. Want plan mode? Write it in a file or install an extension. Want sub-Agents? Use tmux to spin up multiple Pi instances, or write your own Extension. Want MCP? Install the corresponding extension.
It's more like a bare apartment with utilities already connected. How comfortable it is depends on how you renovate it later.
Installation
Method 1: Let an Agent Help You Install
If you're already using Codex, Claude Code, or another terminal-capable Agent, you can send it this complete prompt:
Please install and verify Pi Coding Agent based on my current computer environment:

1. First check the operating system, CPU architecture, Node.js, npm, and the actual active node and npm in the current PATH;
2. Pi currently requires Node.js >= 22.19.0. If not met, explain the upgrade plan first without directly modifying my environment;
3. Install using the official npm package @earendil-works/pi-coding-agent, keeping the official recommended --ignore-scripts;
4. After installation, run pi --version and pi --help to verify;
5. Do not read, print, or modify any API Keys or login credentials;
6. Tell me how to log in to an existing subscription via /login, and how to do a read-only verification in an empty test directory;
7. If issues arise, first check the official repository and website documentation for the current parameters. Do not guess.
Method 2: Do It Yourself, Step by Step
Step 1: Check Node.js and npm
macOS, Linux: Open terminal. Windows: Open PowerShell. First run:
node -v
npm -v
Pi's current npm package requires:
>= 22.19.0
If node -v is below this version, upgrade Node.js first. If you have nvm, Homebrew, and system Node installed simultaneously, also check:
which node
which npm
Sometimes you think you've upgraded, but the terminal is still calling the old version. This pitfall is very common with CLI tools.
Windows has an additional requirement. Pi runs Bash commands through Git Bash by default. Just install Git for Windows.
Note: The --ignore-scripts here must be kept. It prevents dependencies from executing lifecycle scripts during installation, which Pi's normal npm installation doesn't need.
The official website also provides a one-click installation script:
curl -fsSL https://pi.dev/install.sh | sh
All these methods work, but curl | sh is indeed the simplest.
After installation, verify:
pi --version
pi --help
As of September 12, 2026, the official repository's current version is 0.85.1. The project iterates quickly. If version numbers don't match, it may not be an installation failure. Check GitHub Releases and local pi --version first.
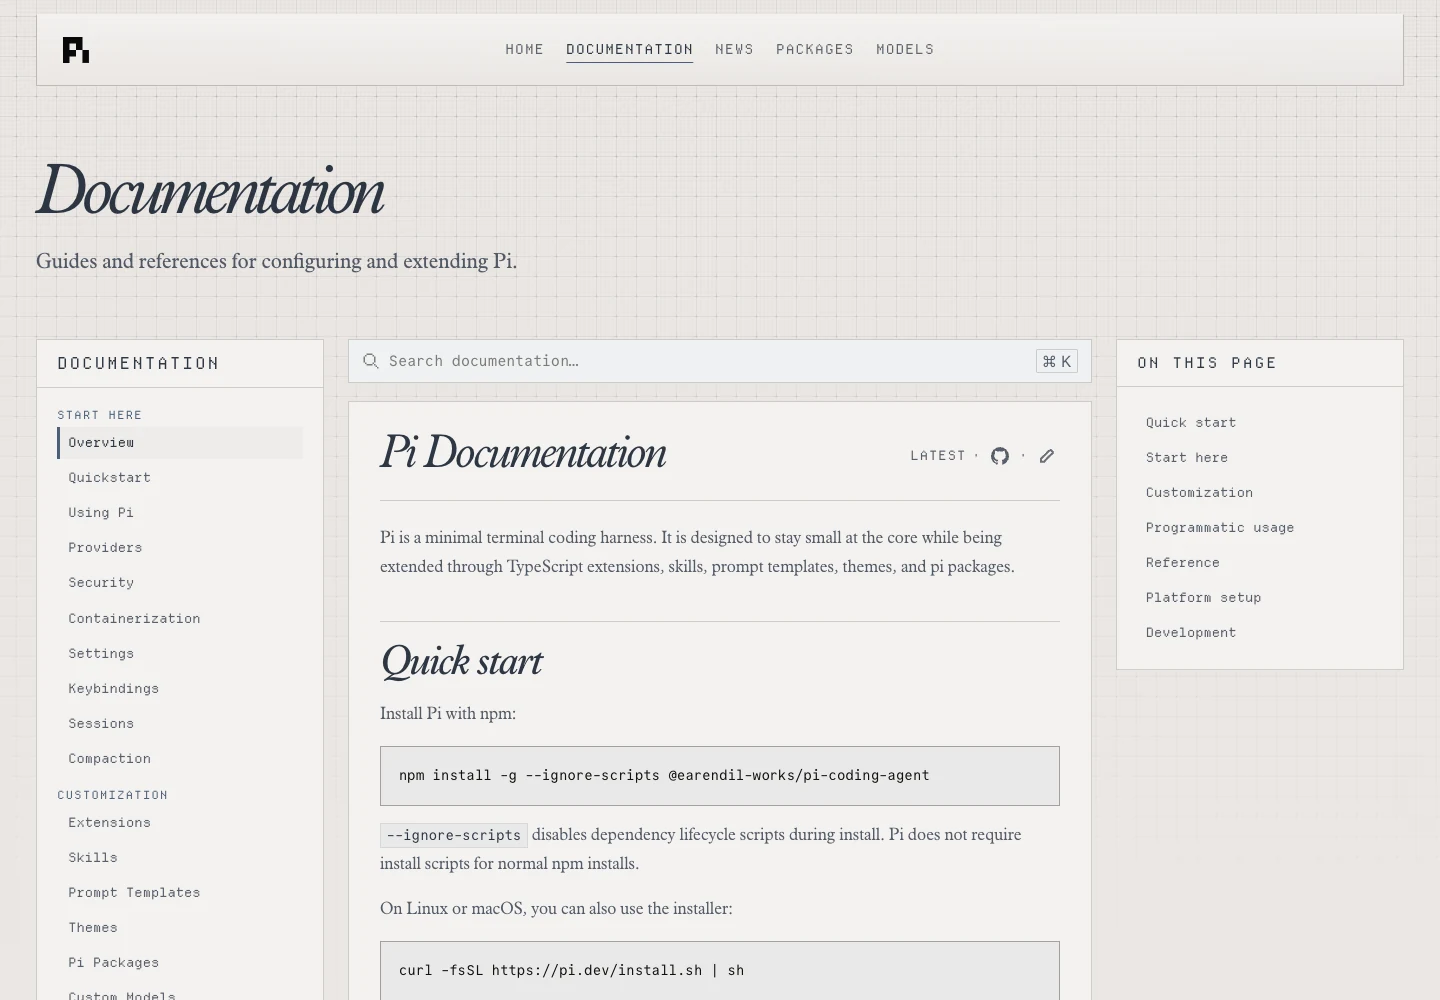
The official documentation's Quick start also uses this npm command.
Installed, but still can't start?
The most common situation is the terminal prompting:
pi: command not found
Try closing and reopening the terminal, then check npm's global installation location:
npm config get prefix
npm list -g --depth=0
If @earendil-works/pi-coding-agent appears in the list, the package is likely installed, but npm's global executable directory isn't in PATH. On macOS and Linux, usually check the bin directory under the global prefix. On Windows, check npm's global directory.
Another issue is when Node.js version looks fine but Pi is still using the old environment. Check these together:
which node
which npm
which pi
node -v
pi --version
If pi can open but the model list is empty, first run /login, then use /model to select a model. You can also exit and check from the command line:
pi --list-models
Step 3: Login to Model
Start directly:
pi
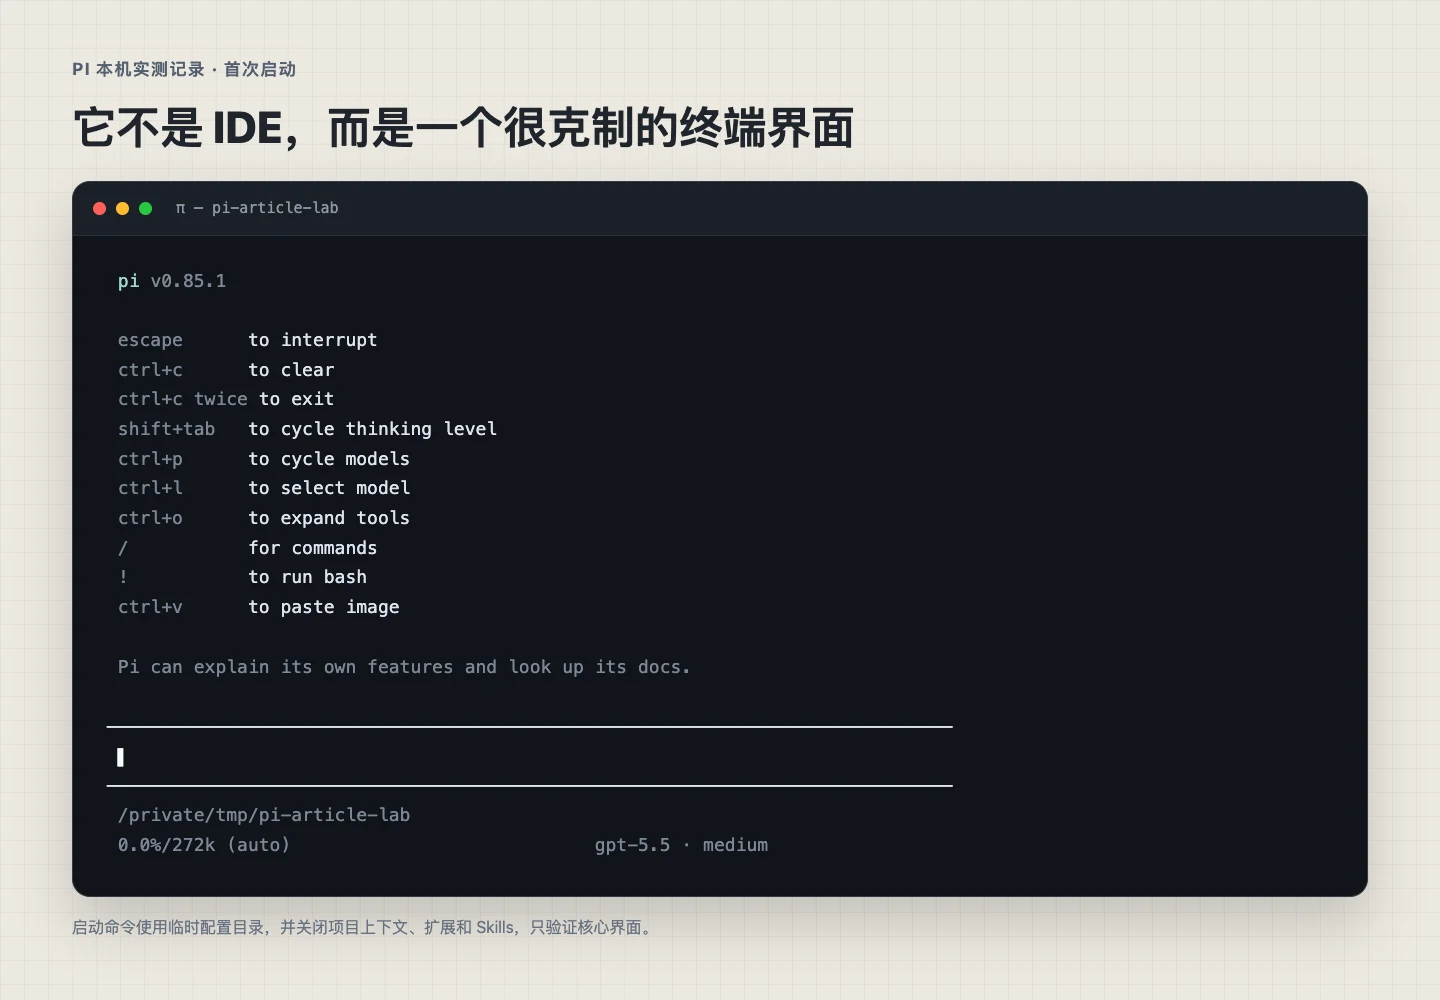
After opening, you'll see a clean interface: the input box is in the center, with the current directory, context, and model displayed at the bottom.
Enter in the terminal interface:
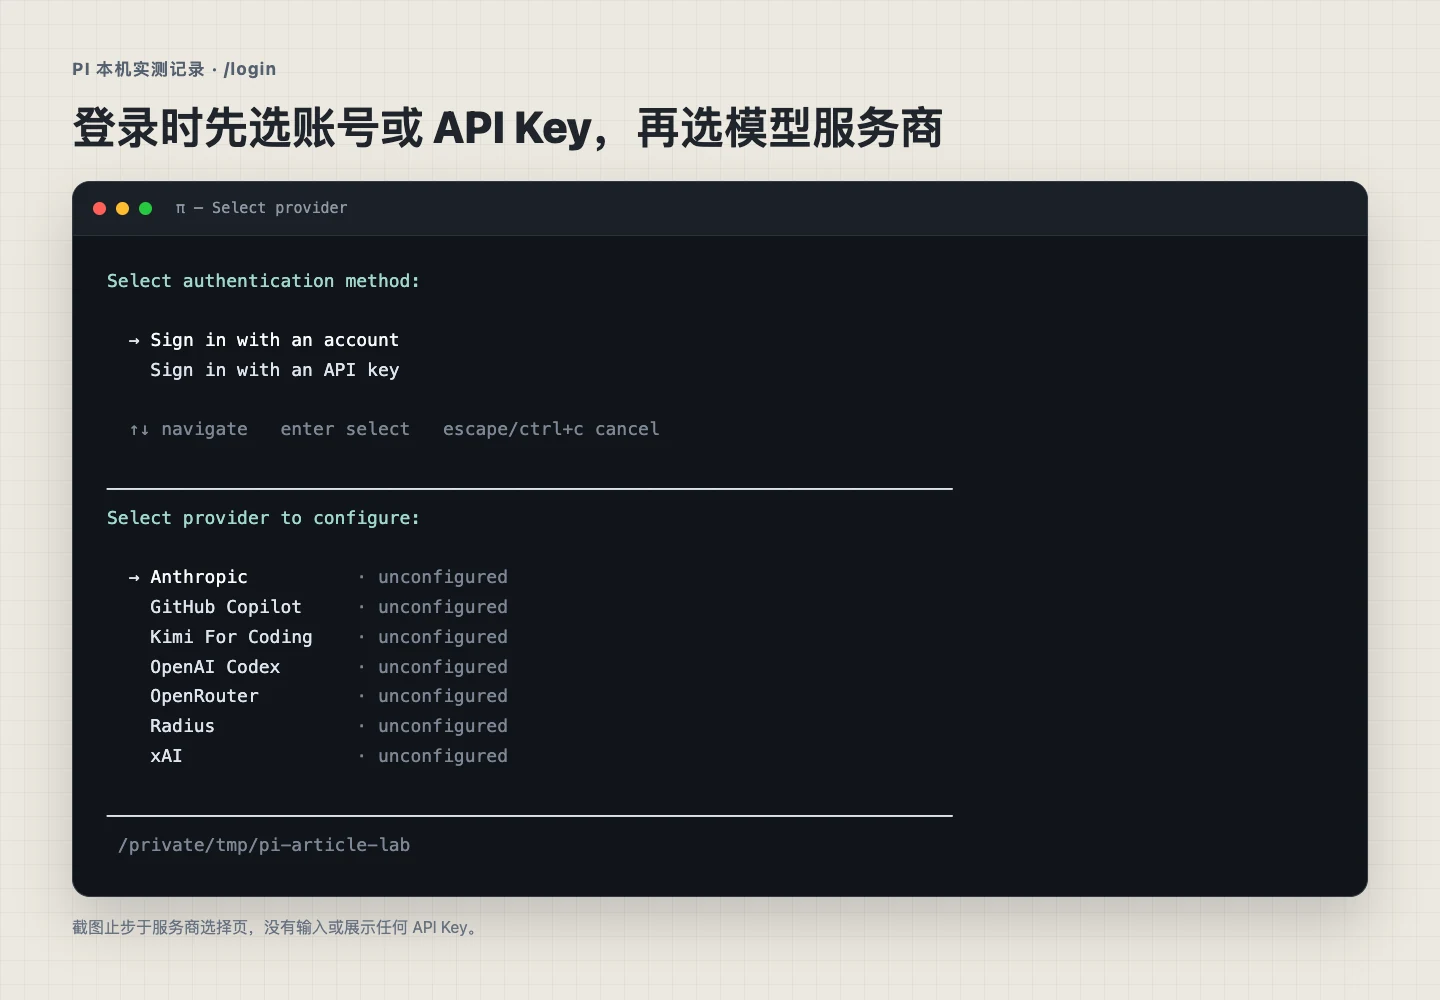
/login
Pi will let you choose a model provider. Official support includes over 15 providers, supporting both API Key and existing subscription login.
If you have ChatGPT Plus or Pro, you can select OpenAI Codex. GitHub Copilot is also supported. While Claude Pro/Max can log in, the official documentation specifically notes that third-party Harness calls go through Anthropic's extra usage, which is billed separately by token and does not directly consume plan quotas. Pay special attention to this.
For DeepSeek API users, you can also provide it in environment variables:
export DEEPSEEK_API_KEY=your-key
pi
However, for beginners, I recommend using /login within Pi. Credentials are saved in ~/.pi/agent/auth.json.
After successful login, use these two commands to switch models and thinking levels:
/model
/thinking
Ctrl+L can quickly open the model selector, and Shift+Tab can switch thinking levels.
Step 4: Run a Read-Only Check
Enter a test project directory, then execute:
pi --tools read,grep,find,ls -p "Read the current directory and tell me what the project does, where the entry file is, and what checks should be run. Do not modify any files."
This uses Pi's Print mode, which exits directly after the task completes. --tools locks available tools to read-only operations. Then check three things: whether the model can connect, whether Pi can read the workspace, and whether tool restrictions are effective.
If you just want to view specific files, you can also pass them directly:
pi -p @README.md "Explain this project's installation and startup in plain language"
Pi also supports viewing images:
pi -p @screenshot.png "Look at this error page and give me troubleshooting steps"
Step 5: Verify Write Capability
Create a dedicated test directory:
mkdir pi-playground
cd pi-playground
pi
Send this minimal task:
Please confirm the current working directory and list existing files.
Then create a hello-pi.md with the following content: current time, working directory, and names of tools you can use.
Do not create, modify, or delete any files other than hello-pi.md.
After completion, re-check the directory and tell me what changes actually occurred.
This task isn't technically demanding but is perfect for verification. It covers directory reading, file writing, constraint compliance, and result re-checking.
Only after confirming these are all working can we confidently put Pi into real projects.
If the project contains .pi/settings.json, .pi resources, or project-level Skills, Pi may ask whether to trust the current directory.
Trusting a project means it can load project configuration, install missing project packages, and execute project Extensions.
Remember these common Pi commands
/login: Login or switch model providers;
/model: Switch models;
/thinking: Adjust thinking level;
/new: Create new session;
/resume: Continue historical session;
/tree: Open session tree, jump to any node;
/compact: Manually compress context;
/reload: Reload configuration, Skills, extensions, and themes;
/hotkeys: View all shortcuts;
/session: View current session file, ID, tokens, and costs.
I think /tree is a very important command.
In regular chat, if you go in the wrong direction earlier, you might need to start a new session. Pi's sessions are saved in a tree structure. You can jump back to an old message and branch off from there. The original branch remains in the same JSONL file.
For example, if an Agent is refactoring code and halfway through realizes the approach is wrong, it can go back to "before refactoring started" and try a different approach, without having to feed in all the previous context. This is especially useful in long tasks.
Pi's sessions are saved by working directory at:
~/.pi/agent/sessions/
You can also continue conversations from the command line:
pi -c
pi -r
The former continues the most recent session, while the latter lets you choose a historical session.
Use in your own products
Pi isn't limited to terminal chatting.
The official documentation groups its usage methods into four categories: Interactive, Print/JSON, RPC, and SDK. Print and JSON are both suited for programmatic one-time or streaming tasks, so they're grouped together.
By default, running pi enters Interactive mode, suitable for daily coding and long tasks.
Print mode is suited for one-time commands:
pi -p "Check what obvious issues this project has"
JSON mode continuously outputs event streams, making it easy to integrate with Shell scripts, logging systems, or custom automation:
pi --mode json "Analyze the current project"
RPC mode receives JSONL through standard input/output, suitable for embedding Pi into non-Node.js applications:
pi --mode rpc
Pi also has an SDK. Developers can directly create Agent Sessions in TypeScript projects, using Pi as their own Agent Runtime.
So what you see is the same kernel, but usable in terminals, scripts, services, and your own products.
Three Official Examples to Better Understand Pi
The following three examples come from Pi's official public pages. The goal is to help everyone understand how this Harness actually works.
Example 1: A Tree-Structured Session
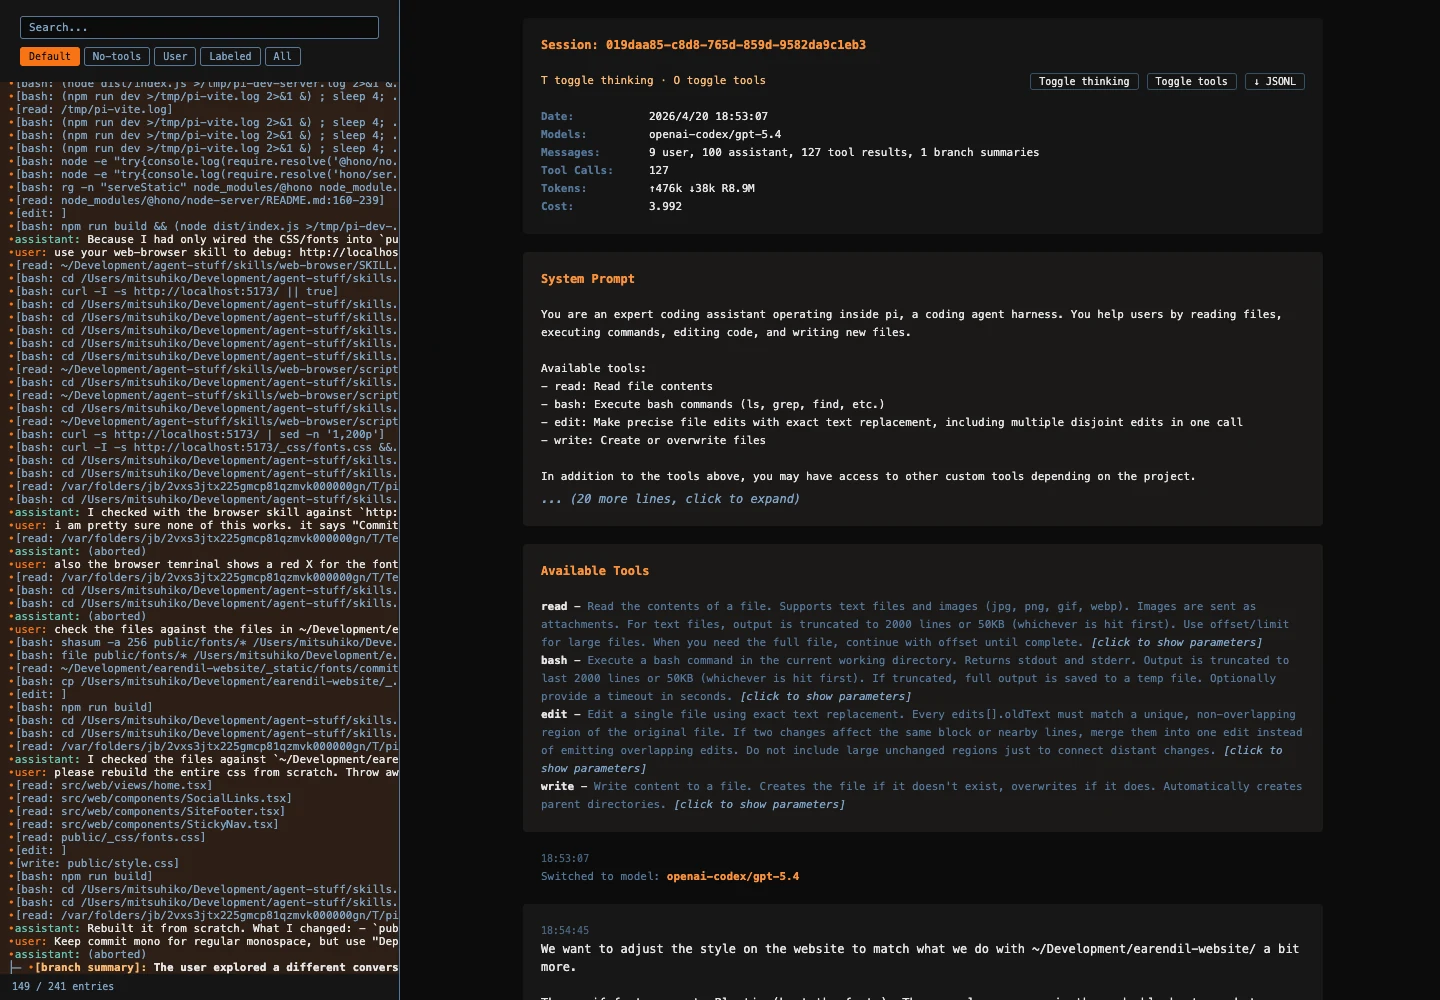
As mentioned earlier, Pi's sessions aren't just a linear chat stream. The official shared session page shows 241 nodes and different branches on the left; the right side can expand System Prompt, tools, messages, and invocation records.
This is more concrete and practical than "supports history." You can go back to an old node and start a new path, or export the complete process.
Example 2: Install Others' Extensions, Skills, and Themes Directly
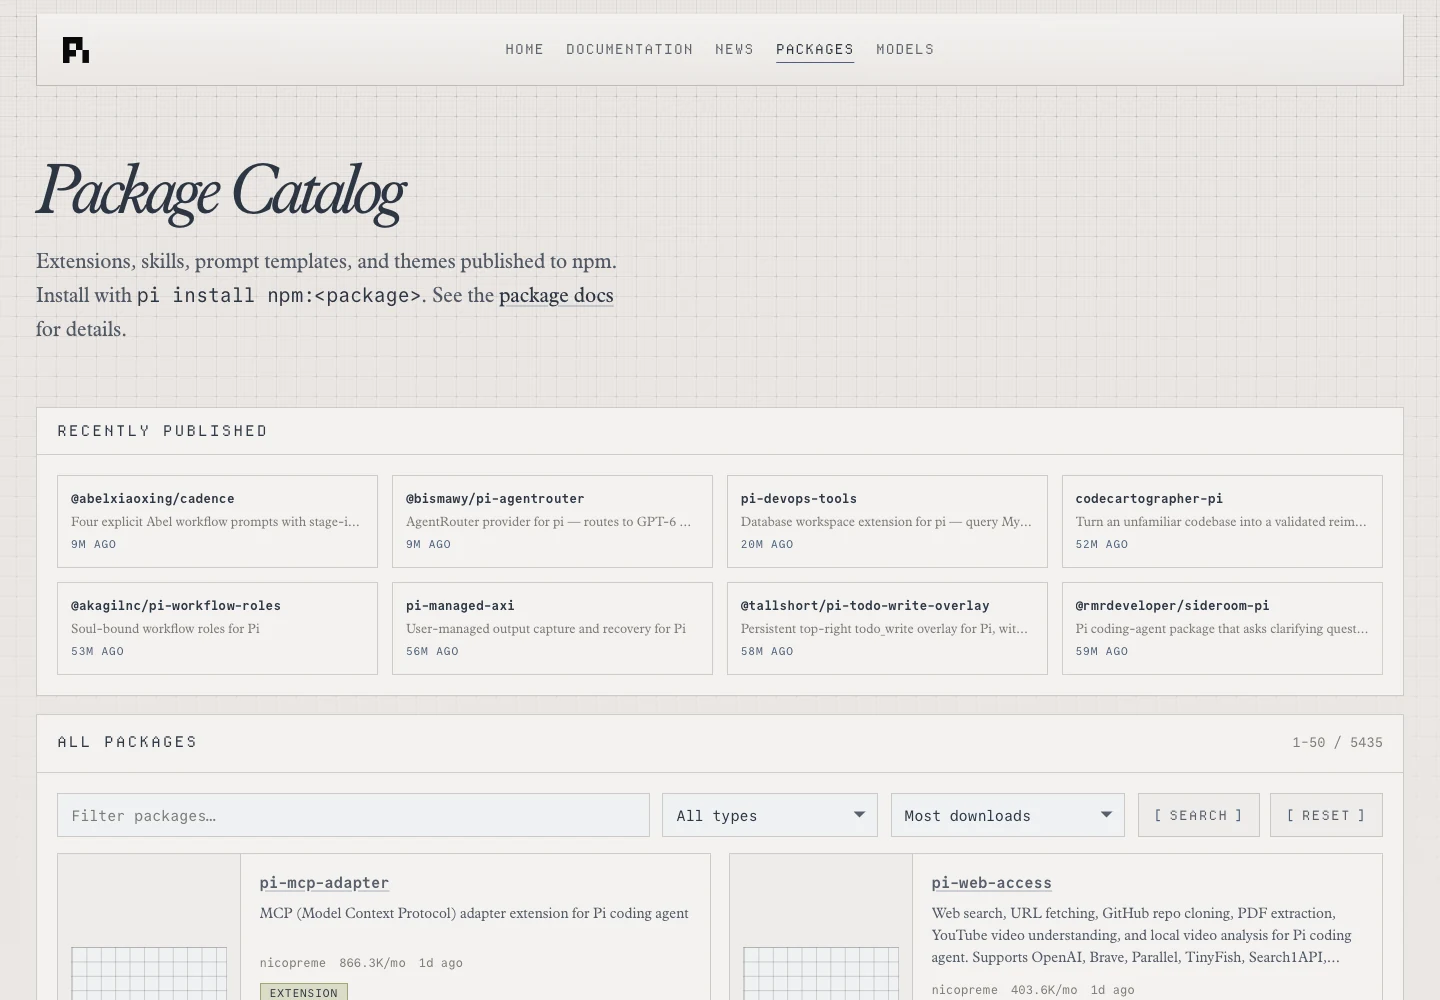
Pi's official website has a Package Catalog with 5,435 entries, including MCP Adapters, web access, workflows, databases, and todo components.
These are capability packages that can be installed locally using pi install npm:<package>. In other words, Pi's extension ecosystem is very rich.
Example 3: Putting Doom in the Terminal
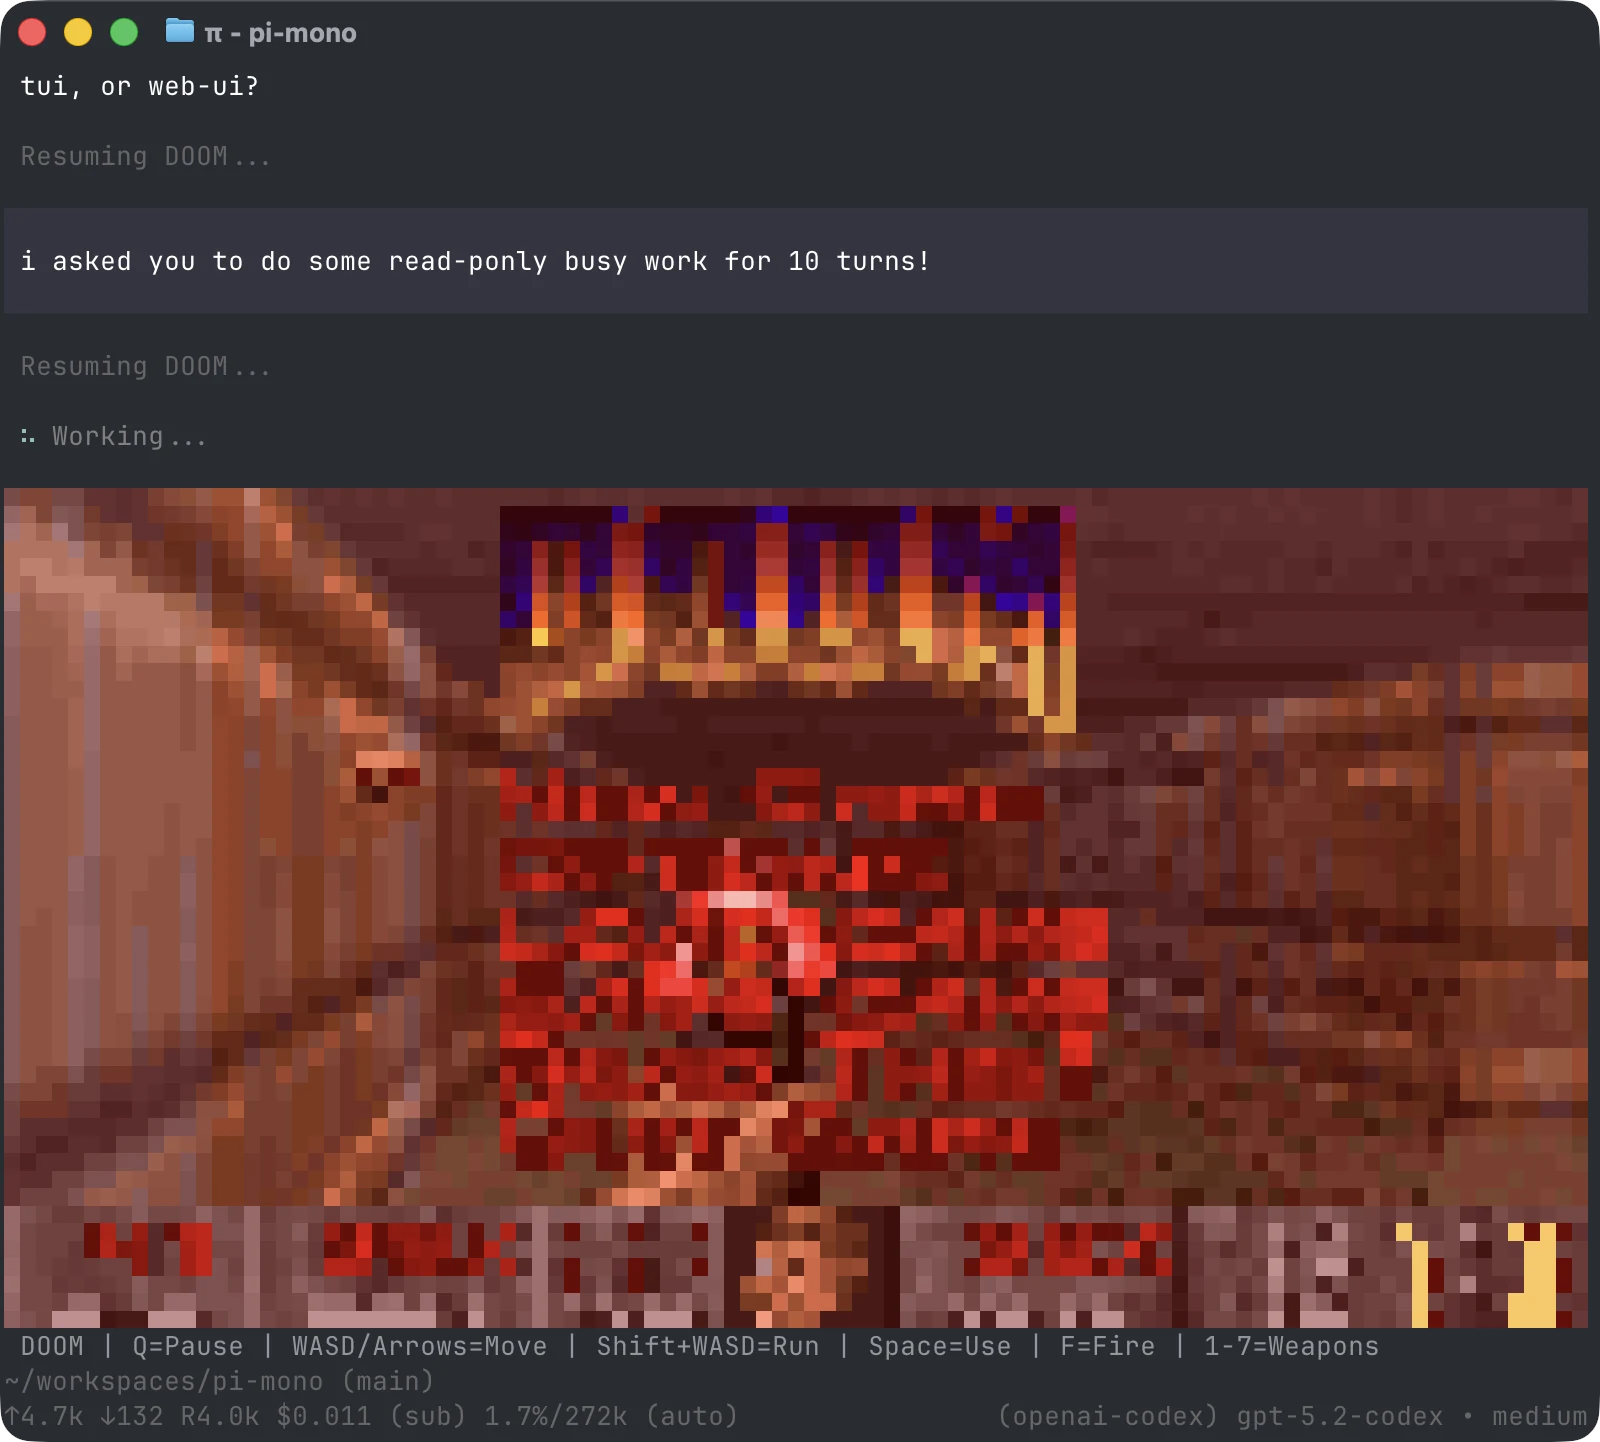
This case is outrageous but best demonstrates how far Extensions can be extended. In the official demo, the Agent executes tasks in the background while Doom is embedded directly in Pi's TUI. The delivery is really well done, and the bottom still displays the model, tokens, costs, and task status.
Extensions can receive events, modify interfaces, register tools, and even replace the entire interaction layer.
Skills are loaded progressively. At startup, only names and descriptions are placed in context. The full SKILL.md is read after task matching, avoiding flooding the context with all documentation at once.
To force-call a specific Skill, enter:
/skill:skill-name
This design aligns with the current Agent Skills standard. Many Skill capability packages you previously built for Codex and Claude Code can be reused.
Let Pi Extend More Capabilities
Skills primarily address "how to do it," while Extensions can directly modify Pi itself, offering even more powerful capabilities.
An Extension can register new tools, commands, shortcuts, and events; modify the status bar, editor, popups, and themes; implement sub-Agents, plan mode, permission gates, Git auto-commit, SSH execution, sandboxes, and even add MCP.
The official homepage showcases Doom as a very intuitive Extension example.
The official recommendation: whatever capability you lack, let Pi write an Extension for it. After modification, run /reload and continue your current work.
If this capability will be reused later, you can package the Extension, Skill, Prompt, and themes into a Pi Package:
pi install npm:@foo/pi-tools
pi install git:github.com/user/repo
pi list
pi config
Note: Pi Package is completely different from browser isolated plugins.
The easiest pitfall to overlook: no permission protection by default
Pi doesn't pop up a confirmation dialog before deleting files or running commands like some desktop Agents. It directly inherits the file, network, credentials, and system permissions of the launching process.
However, this isn't a hidden bug. The official homepage clearly states "No permission popups."
For terminal-savvy users, this means YOLO mode — tasks won't be frequently interrupted.
But for beginners, an imprecise prompt could genuinely cause the Agent to do bad things, like wiping your C drive...
For first-time use, pay attention to these points:
Start with an empty directory; don't open Desktop, Documents, or your entire Home directory right away;
When reading code, use --tools read,grep,find,ls to lock to read-only;
Don't let the model read ~/.pi/agent/auth.json, .env, or other credential files;
Review the source code of third-party Packages and Extensions before installing;
If it needs to run automatically for a long time, put it in Docker, OpenShell, or other sandboxes.
The official documentation provides multiple isolation methods. The easiest to use is putting Pi entirely in Docker.
Note: The mounted working directory can still write back to the host. Mounting ~/.pi/agent also exposes authentication and session files to the container.
Additionally, Pi checks for new versions at startup. After first installation or detection of an upgrade, it sends anonymous version information. To opt out, disable installation telemetry in settings or use:
PI_TELEMETRY=0 pi
To completely disable startup network checks:
PI_OFFLINE=1 pi
Who is Pi For?
If you just want to download a product, log in, and use it stably within safety rails, Pi may not be the most hassle-free choice. It intentionally omits some features that "should be included after installation," and many things need to be configured yourself.
Those already using multiple models, with many Skills, wanting to integrate Agents into scripts or products, and with basic judgment about terminals and permissions will find it easier to appreciate its value. Especially indie developers and solo founders.
Of course, the more freedom you have, the more you need to take security into your own hands.